
Laser 101: FAQs & Tips for Laser Cutting
New to laser cutting? Start here. We explain the basics—how CO₂ lasers cut and engrave, which materials are safe, and how to set up your file. You’ll learn the difference between cutting and engraving, why vector files matter, and simple ways to avoid burn marks or rough edges. We also cover safety, ventilation, and tips for better results. Whether you plan to rent a laser or have us do the work, this quick guide will help you make confident choices and get cleaner parts.
FAQs
- Cutting vs. engraving—what’s the difference?
Cutting goes through the material; engraving marks the surface. - Which materials are safe to cut?
Common options include acrylic, wood, cardboard, some fabrics, and other laser-safe materials. Avoid PVC and unknown plastics. - Why won’t JPEG or PNG work for cutting?
They don’t contain paths. Laser cutters need vector files like AI, DXF, or PDF. - What software should I use?
Illustrator or LightBurn are common choices. Export clean vectors at the correct scale. - Any quick tips for cleaner results?
Use the right material, nest parts to save stock, keep optics clean, and choose sensible power/speed settings.
How to Design for Tight Tolerances in Laser Cutting
When pieces need to fit together precisely—mechanical assemblies, interlocking components, or dimensional accuracy for engineering applications—designing for laser cutting requires understanding the capabilities and limitations of the technology. Here's how to design for tight tolerances and ensure parts fit as intended.
Understand Your Equipment's Accuracy
Different lasers have different accuracy specs. Most modern CO₂ lasers achieve ±0.005" or better on cut accuracy. Some achieve ±0.002" or better under ideal conditions. Before designing, confirm your laser shop's accuracy specifications. This is your baseline—don't design tolerances tighter than the equipment can deliver consistently.
Account for Kerf in Your Calculations
The laser beam has width—typically 0.003" to 0.005" depending on focus and material. This removes material, an amount called kerf. If you're designing interlocking parts, slots, or components that need to fit together, kerf affects dimensions. Design your parts slightly larger or smaller than nominal to account for kerf. Your laser shop can guide you on exact kerf amounts for your specific material and equipment.
Test Fit Before Full Production
Always do a test run on prototype material before committing to full production. Cut a few test pieces and verify they fit as designed. Tolerance issues reveal themselves immediately. Once you've confirmed fit, you can proceed to full production with confidence. The cost of testing is trivial compared to producing hundreds of parts that don't fit.
Material Variation Matters
Material thickness can vary slightly between suppliers or even between sheets from the same supplier. Design your tolerances knowing that material thickness might vary ±0.015" or more. If your design is sensitive to thickness variation, account for it. Test with the actual material you'll be using in production.
Focus and Cutting Angle
For the tightest tolerances, consistent laser focus is critical. Material thickness affects ideal focus point. At material edges, the laser cuts at a slight angle. For precision work, your laser shop may make multiple passes or use techniques that tighten tolerances. Discuss precision requirements upfront—they may adjust settings or process to meet your specs.
Assembly and Finishing Tolerance
Laser cutting precision is one part of the equation. How parts are assembled, finished, and handled affects final dimensional accuracy. If you need very tight overall dimensions, discuss the entire process with your laser shop—cutting, assembly, and finishing together determine final tolerance.
Designing precision laser-cut parts? American Laser Cutter has extensive experience with tight-tolerance work. Talk to our team about your specifications. Visit americanlaserco.com.
How We Serve LA's Fashion, Film, and Tech Industries
Los Angeles is a city of creators, makers, and innovators across fashion, entertainment, and technology. Each industry has unique demands, timelines, and expectations. American Laser Cutter has built our business around serving these sectors, which means we understand their specific needs and how to deliver exceptional results under real-world constraints.
Fashion Industry Speed and Quality
Fashion designers need fast turnaround and precision. A leather jacket design might require custom cuts. An accessories line might be built around laser-cut acrylic elements. A fashion brand might need custom engraving for limited-edition pieces. We understand the urgency of seasonal production and the importance of quality. Our turnaround times and precision equipment ensure designers can meet production schedules without compromising vision.
Entertainment and Film Production
We've worked extensively with Warner Bros and other major production companies. Film and TV need custom props, set pieces, and details on tight timelines. Production schedules don't move, so we don't miss deadlines. We work with prop designers to solve creative challenges using laser technology. We've built everything from futuristic spaceship set pieces to historically accurate period details.
Tech Startups and Prototyping
Tech companies building hardware need rapid prototyping and iterations. Startups working on IoT devices, robotics, or consumer electronics often need custom enclosures, housing components, or assembly fixtures. We understand startup budgets and timelines. We can turn a design into a prototype in hours. We iterate quickly as specifications change. We help de-risk product development through rapid prototyping.
Manufacturing and Engineering
We serve manufacturers building products with laser-cut components. We handle tight tolerances, bulk production runs, and technical specifications. We work from engineering drawings and communicate clearly about dimensional accuracy, lead times, and costs.
Whatever your industry, American Laser Cutter has the expertise and capacity to deliver. Get in touch at americanlaserco.com.
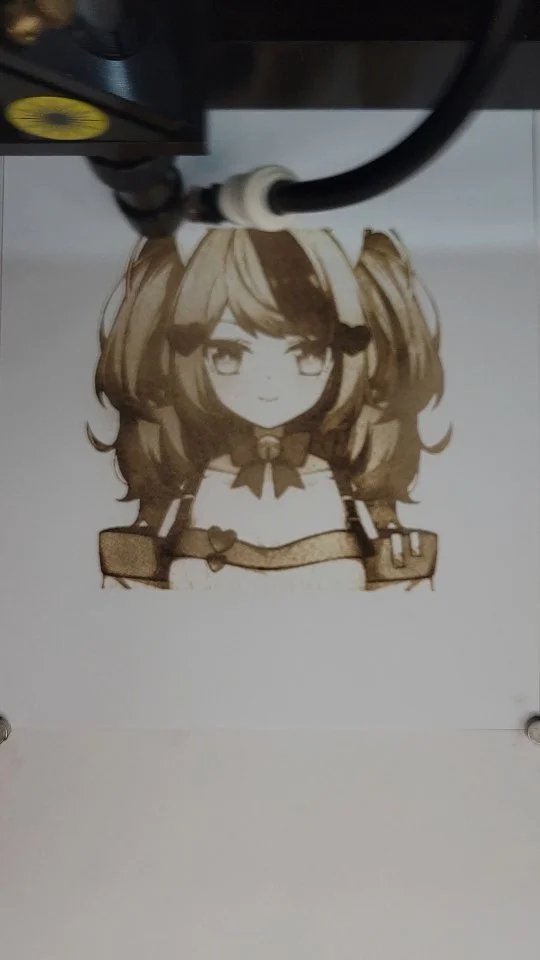
Laser Engraving Services in Downtown LA
Laser engraving transforms ordinary materials into personalized, professional-looking pieces. From corporate awards and recognition plaques to custom signage, promotional items, and personalized gifts, laser engraving adds detail and sophistication that sets a piece apart. If you're in Los Angeles, American Laser Cutter offers fast, affordable engraving services in Downtown LA.
What You Can Engrave
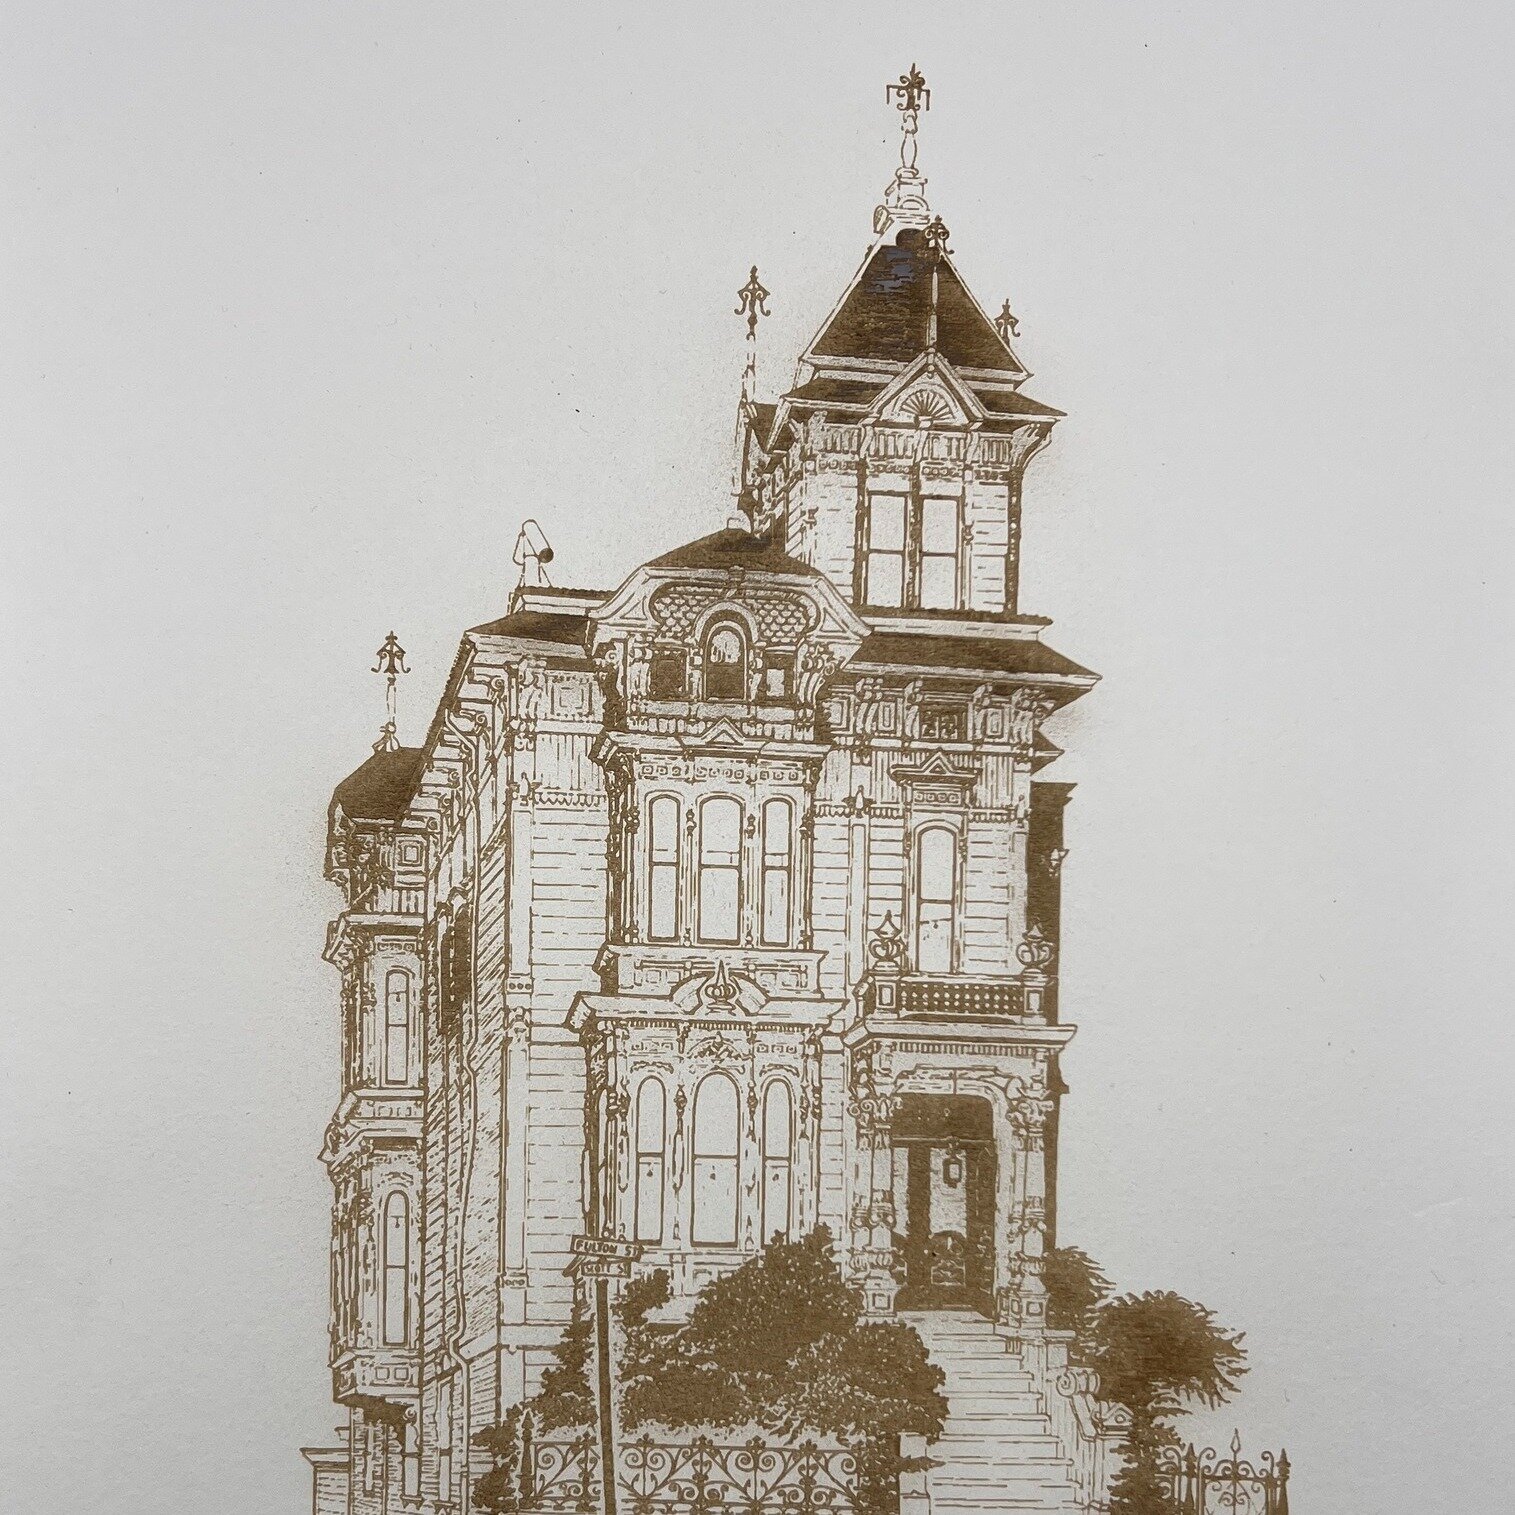
Laser engraving works beautifully on acrylic, wood, leather, anodized aluminum, and numerous other materials. You can engrave text, logos, photos, intricate patterns, and detailed artwork. The precision of laser engraving creates crisp, professional results that look intentional and high-quality—much better than hand engraving or standard printing for many applications.
Business and Recognition
Companies use laser engraving for employee recognition awards, client gifts, and corporate signage. The personal touch of engraving elevates a gift or award. It shows the recipient that they matter. The professional appearance reflects well on the company giving the award.
Personal and Creative Projects
Artists and makers use laser engraving for custom jewelry, art pieces, and unique gifts. Couples commission engraved items for weddings and anniversaries. Creators build entire product lines around engraved personalization. The possibilities are genuinely broad.
Speed and Affordability
Laser engraving is fast—many jobs can be completed same-day or next-day. Costs are reasonable, especially for single items or small batches. Volume discounts apply for larger orders. Most LA shops price engraving quite competitively.
Need laser engraving in Downtown LA? American Laser Cutter provides fast, professional engraving on materials and designs you choose. Get a quote at americanlaserco.com.
How Startups Use Laser Cutting for Product Prototyping
Early-stage startups face incredible time and budget pressure. They need to iterate on product designs fast, test concepts with customers, and make decisions based on real feedback—all with limited resources. Laser cutting has become essential to how startups move quickly from concept to market-ready product.
Speed of Iteration
Traditional prototyping—CNC machining, injection molding, or hand fabrication—is slow and expensive. A startup might spend weeks and thousands of dollars to build a single prototype. Laser cutting reduces that timeline to days or hours. A startup team can test a design, get feedback, modify the design, and build a new prototype all within a week. That speed of iteration is transformative.
Low Cost, High Fidelity
Laser cutting enables functional prototypes from inexpensive materials—acrylic, wood, cardboard, leather. These materials are affordable, so startups can afford to build multiple versions. Despite the low cost, the prototypes are high-fidelity enough to communicate design intent and function for user testing. A laser-cut acrylic prototype looks professional and feels solid, not obviously cheap.
Design Flexibility
With laser cutting, startups can easily modify designs between iterations. Assembly challenges reveal themselves immediately. Dimensional issues become obvious. Customer feedback drives changes that are implemented within days. This flexibility enables startups to make smart design decisions before committing to expensive manufacturing.
Bridge to Production
Once a startup's design is validated through laser-cut prototypes, they can move to production manufacturing with confidence. They know their design works. The CAD files that created laser-cut prototypes can inform injection molding or sheet metal fabrication specs. Laser cutting becomes the bridge between concept and full-scale production.
If you're a startup building prototypes, laser cutting offers unmatched speed and affordability. American Laser Cutter has worked with dozens of LA startups. Let's talk about your project. Visit americanlaserco.com.
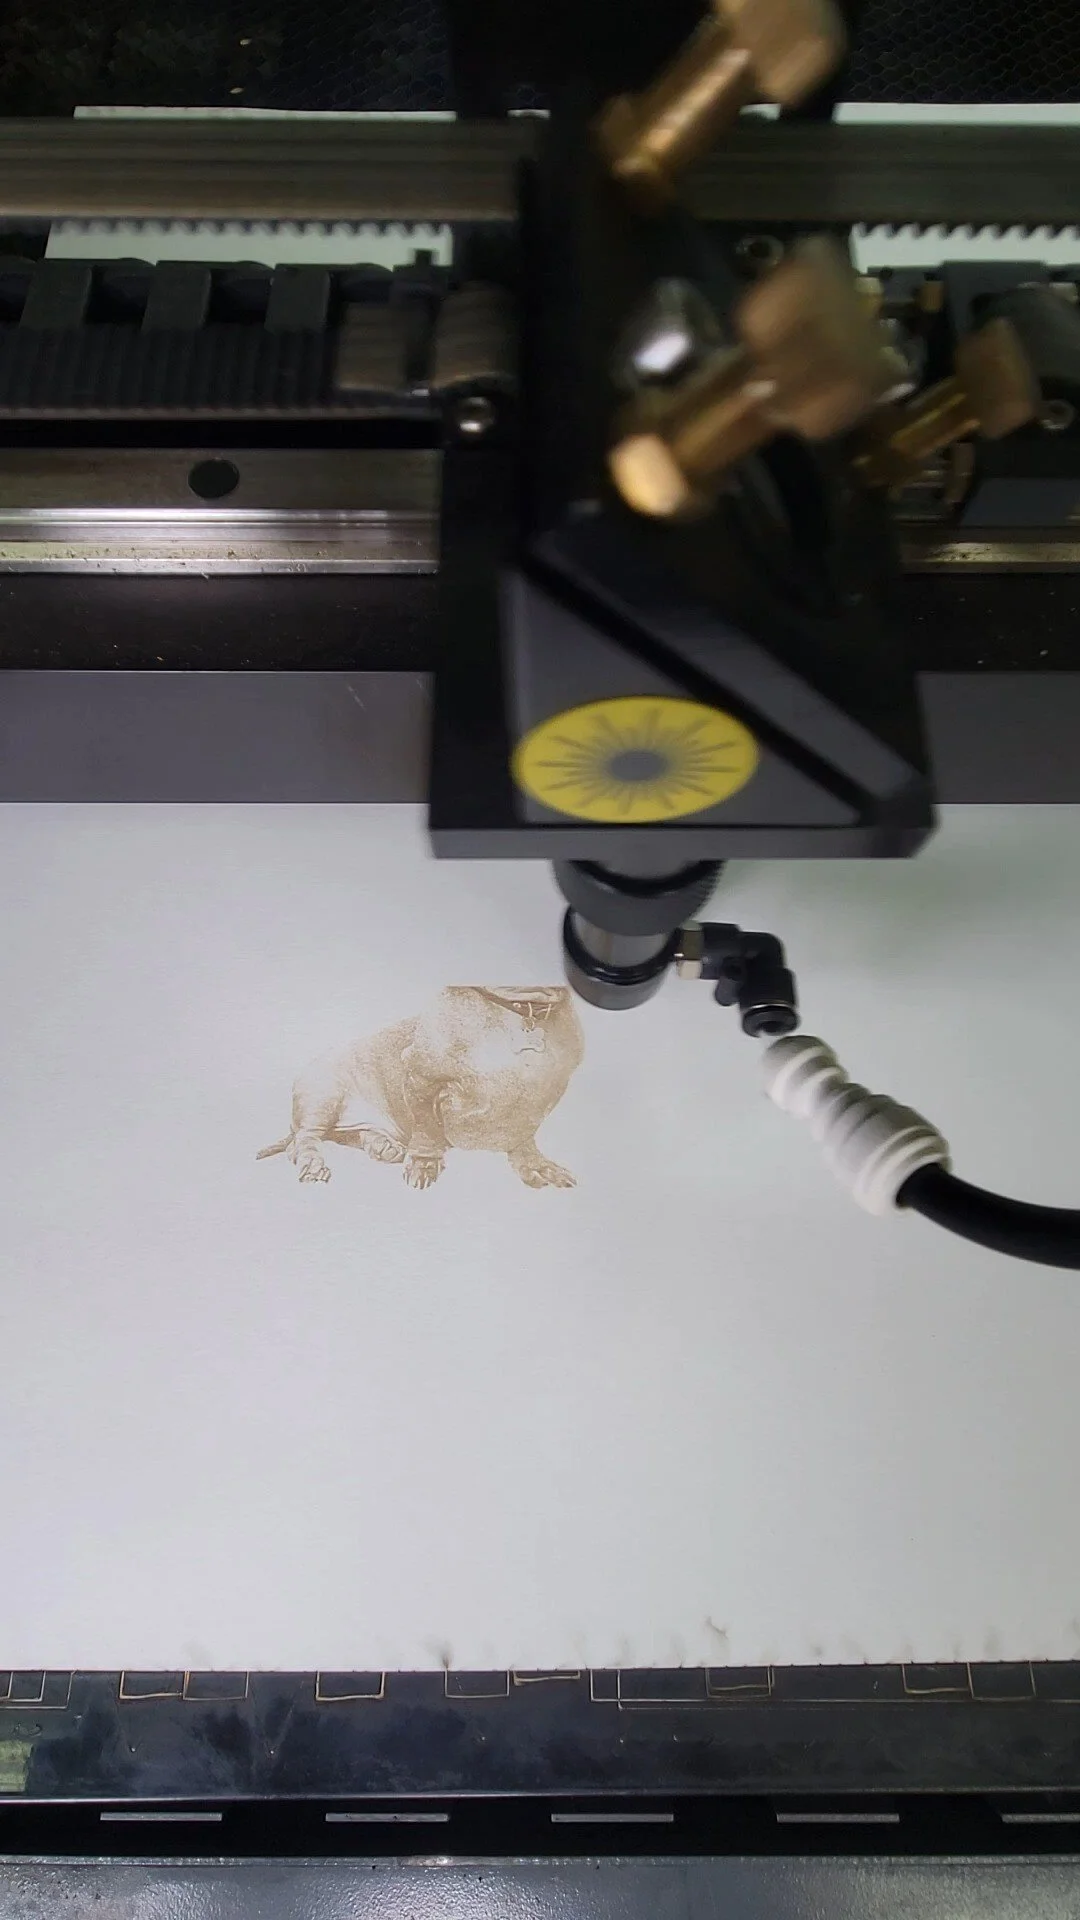
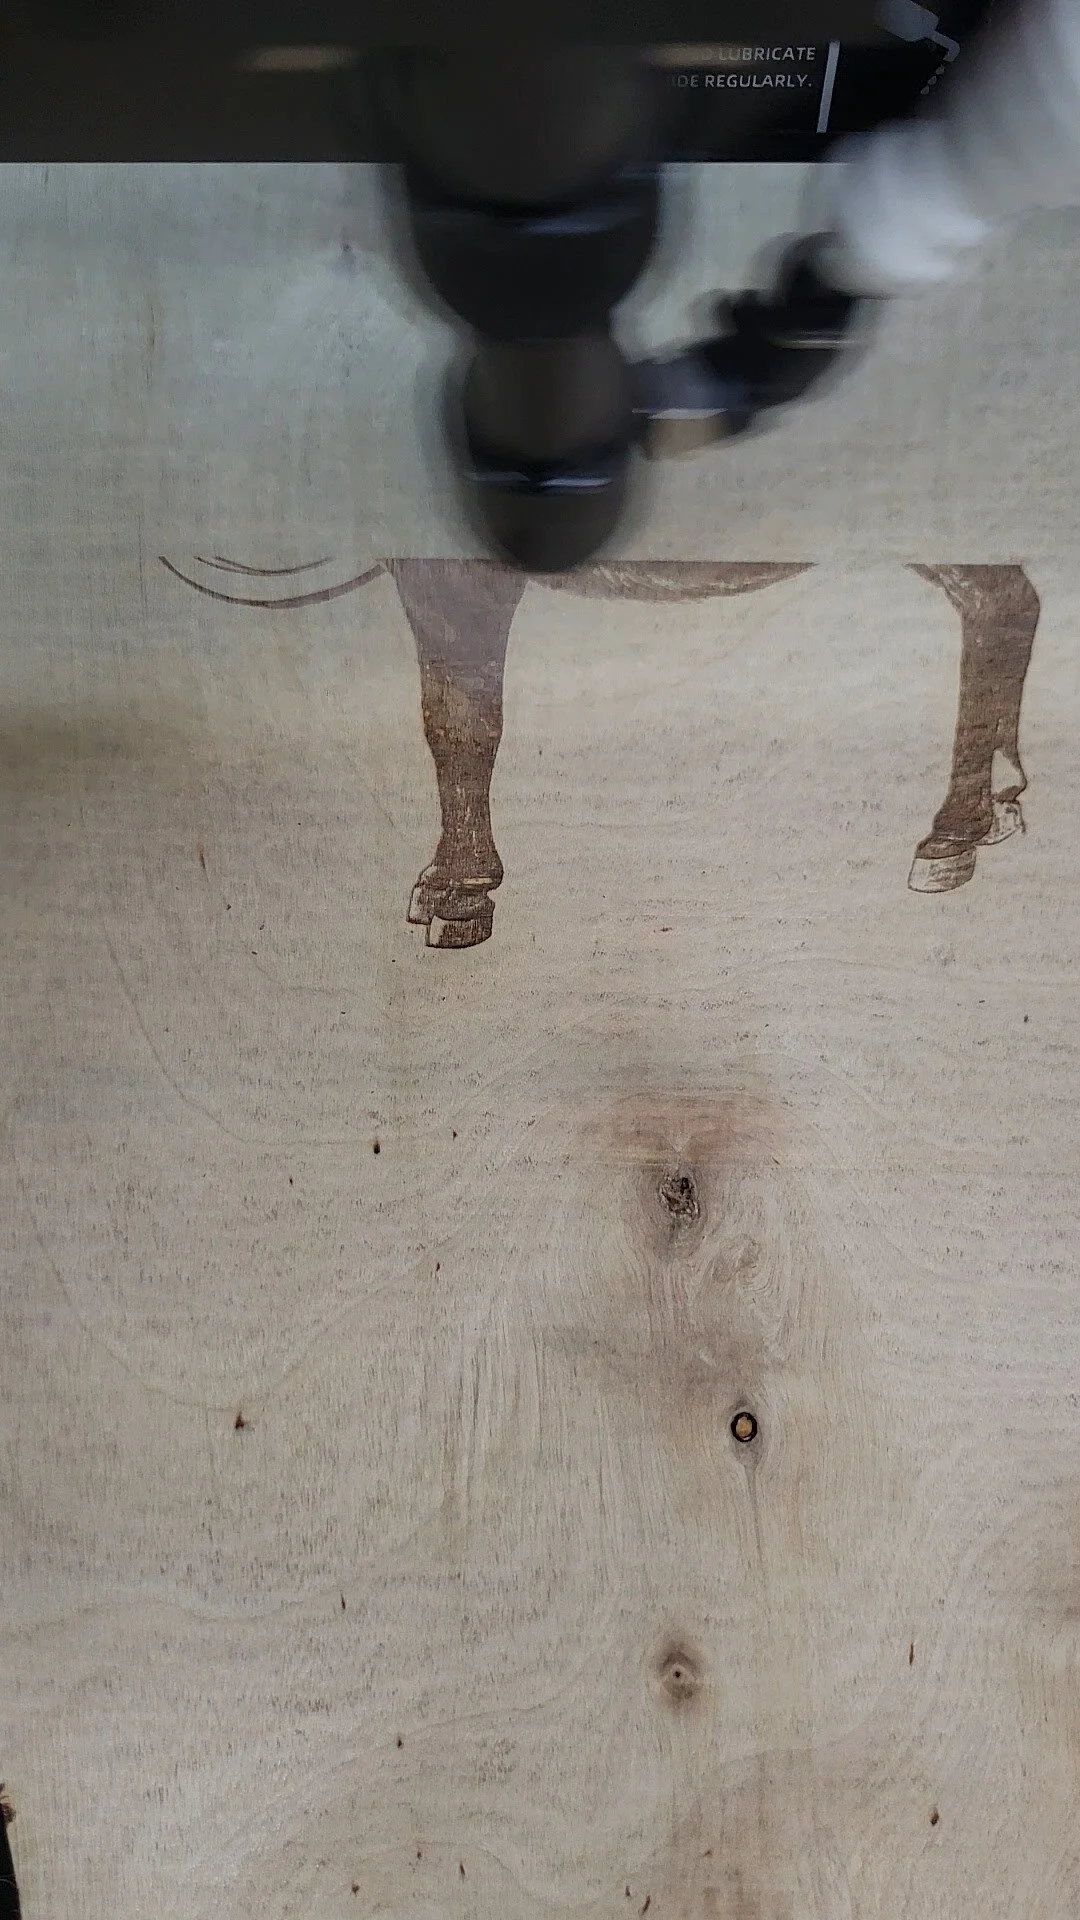
Tips for Laser Cutting Wood Without Burn Marks
Laser cutting naturally produces a slight char on wood edges—it's the nature of the technology. But excessive burn marks, dark discoloration, or deep charring are signs that something's off. With the right approach, you can minimize burning and achieve clean, light-colored edges that look professional.
Choose the Right Wood
Different woods respond differently to laser heat. Hardwoods like birch and oak tend to burn less than softwoods. Plywood cuts cleanly if it's good quality—low-quality plywood with synthetic binders can burn heavily. Veneer and thin wood sheets are less prone to burning. Ask your laser shop which woods work best in their specific equipment.
Material Preparation
Start with clean, dry wood. Moisture and dirt can contribute to burning. If your wood has been stored in humid conditions, let it acclimate to your laser shop's environment for a day or two before cutting. Clean the surface gently to remove dust or debris that might increase heat buildup.
Laser Settings Matter
Slower cutting (lower speed) at lower power can actually produce more burn than the right speed-power combination. Your laser shop has experience dialing in settings for different wood types and thicknesses. Trust their settings—they've optimized for clean cuts with minimal burning on every material they work with regularly.
Air Assist and Cooling
Many laser cutters use compressed air (air assist) to blow away hot particles and cool the cutting edge as the laser works. This dramatically reduces burning. If your shop doesn't use air assist, they should explain why. Proper cooling is fundamental to clean cuts on wood.
What to Expect
Light charring on wood edges is normal and often adds visual character. Deep black burning isn't necessary and suggests either wrong material, incorrect settings, or equipment issues. Talk to your laser shop about your burn concerns—they may adjust settings or recommend different wood if your project requires absolutely minimal charring.
Planning a wood laser cutting project? Let American Laser Cutter handle it. We'll deliver clean cuts with minimal burning. Get a quote at americanlaserco.com.
CO₂ Laser Repair in Los Angeles: Who to Call
When your CO₂ laser cutter breaks down in Los Angeles, you need to know who to call. Equipment downtime is expensive, and you want someone who can diagnose and fix problems correctly the first time. Los Angeles has several options, but finding a shop with real expertise—not just parts-swapping skills—makes all the difference.
What to Look For in a Repair Shop
Look for someone who actually operates laser equipment, not just repairs it. Do they understand optics alignment? Can they diagnose electrical problems? Do they have experience with multiple laser models? Ask for references from past repairs. Can they show you examples of equipment they've serviced? A good repair shop should be happy to answer technical questions about your specific laser.
Common CO₂ Laser Problems
Tube degradation is the most frequent issue—laser tubes have finite lifespans, typically 8-10 years with regular use. Mirror misalignment causes weak cuts. Cooling system failures are common in LA's heat. Power supply issues can develop gradually. Window or lens contamination degrades performance slowly. A good repair shop will identify which of these is affecting your machine.
Turnaround Matters
In LA's competitive creative industries, equipment downtime means lost revenue. You want a repair shop that prioritizes speed without sacrificing quality. American Laser Cutter understands this because we run production equipment ourselves. We work to get your laser back online as fast as is reasonable.
Transparent Pricing
Get a detailed quote before repair begins. Understand what parts cost, what labor costs, and what the total will be. You shouldn't get surprised with a bill that's double what you expected. Reputable shops provide estimates upfront.
For CO₂ laser repair in Los Angeles, American Laser Cutter combines expertise, reliability, and fast turnaround. Contact us at americanlaserco.com or call for immediate support.
What Makes Our CO₂ Laser Repair Service Different
CO₂ laser repair isn't commoditized. You can't call any computer repair shop and expect them to handle laser tube replacement or optics alignment. American Laser Cutter's repair service stands apart because we're not sideline repair specialists—we're laser equipment operators who understand these machines from the inside out.
We Know These Machines Because We Run Them
We operate four large-format CO₂ lasers daily, so we understand exactly how they should perform, what problems look like when they develop, and how to fix them properly. This operational knowledge is invaluable. When you bring a laser to us for repair, you're talking to someone who has seen thousands of hours of operation and knows what going wrong actually looks like in practice.
Comprehensive Diagnostics
Rather than replacing parts and hoping, we systematically diagnose what's actually broken. Is it the tube? The mirrors or lenses? The power supply? Cooling system issues? Software calibration? We test each system methodically. This prevents expensive, unnecessary repairs and gives you confidence that you're fixing the real problem, not a symptom.
Quality Parts and Expertise
We use quality replacement parts and know how to install them correctly. Laser tube installation, mirror alignment, and lens cleaning all require precision and knowledge. We've done these procedures hundreds of times. We get it right the first time.
Transparent Communication
We'll tell you upfront what's broken, what it costs to fix, how long it will take, and what the expected lifespan of the repair is. If a repair isn't economical, we'll be honest. If your laser is reaching end-of-life, we'll tell you that too. This honesty matters more than trying to upsell every possible service.
When your laser needs help, trust someone who runs lasers for a living. Contact American Laser Cutter at americanlaserco.com.
Laser Cutting for Architecture Students at USC and UCLA
Architecture students at USC and UCLA are building increasingly complex models and presentations, and laser cutting has become integral to how they work. From detailed site models to presentation panels and building components, the ability to quickly produce precise laser-cut parts enables better design iteration and more professional presentations.
Model Building and Prototyping
Architecture students create extensive models—site plans, building facades, interior layouts, and structural systems. Laser cutting allows them to produce clean components that assemble precisely. Instead of spending hours hand-cutting materials, students can focus on design decisions and refinement. The speed of iteration using laser cutting leads to better final designs.
Presentation Quality
When students present to professors and peers, presentation quality matters. Laser-cut models look professional and communicate design intent clearly. Custom signage, text panels, and graphic elements created via laser engraving elevate presentations. Many professors notice the difference in how well a project with high-quality presentation materials is received.
Learning the Technology
Working with laser cutting teaches students about precision, material properties, and the relationship between digital design and physical output. Understanding kerf, accounting for material thickness, and thinking about how to assemble components efficiently are all valuable skills for future architects. The hands-on experience of seeing digital designs become physical objects reinforces core concepts.
Accessibility and Support
American Laser Cutter has served countless USC and UCLA students and faculty. We provide student pricing, fast turnaround for deadline-driven academic work, and friendly guidance for first-timers. We understand the constraints of student budgets and academic timelines.
If you're an architecture student at USC, UCLA, or elsewhere in LA, we're here to help bring your designs to life. Visit americanlaserco.com and mention you're a student—we'll take good care of you.
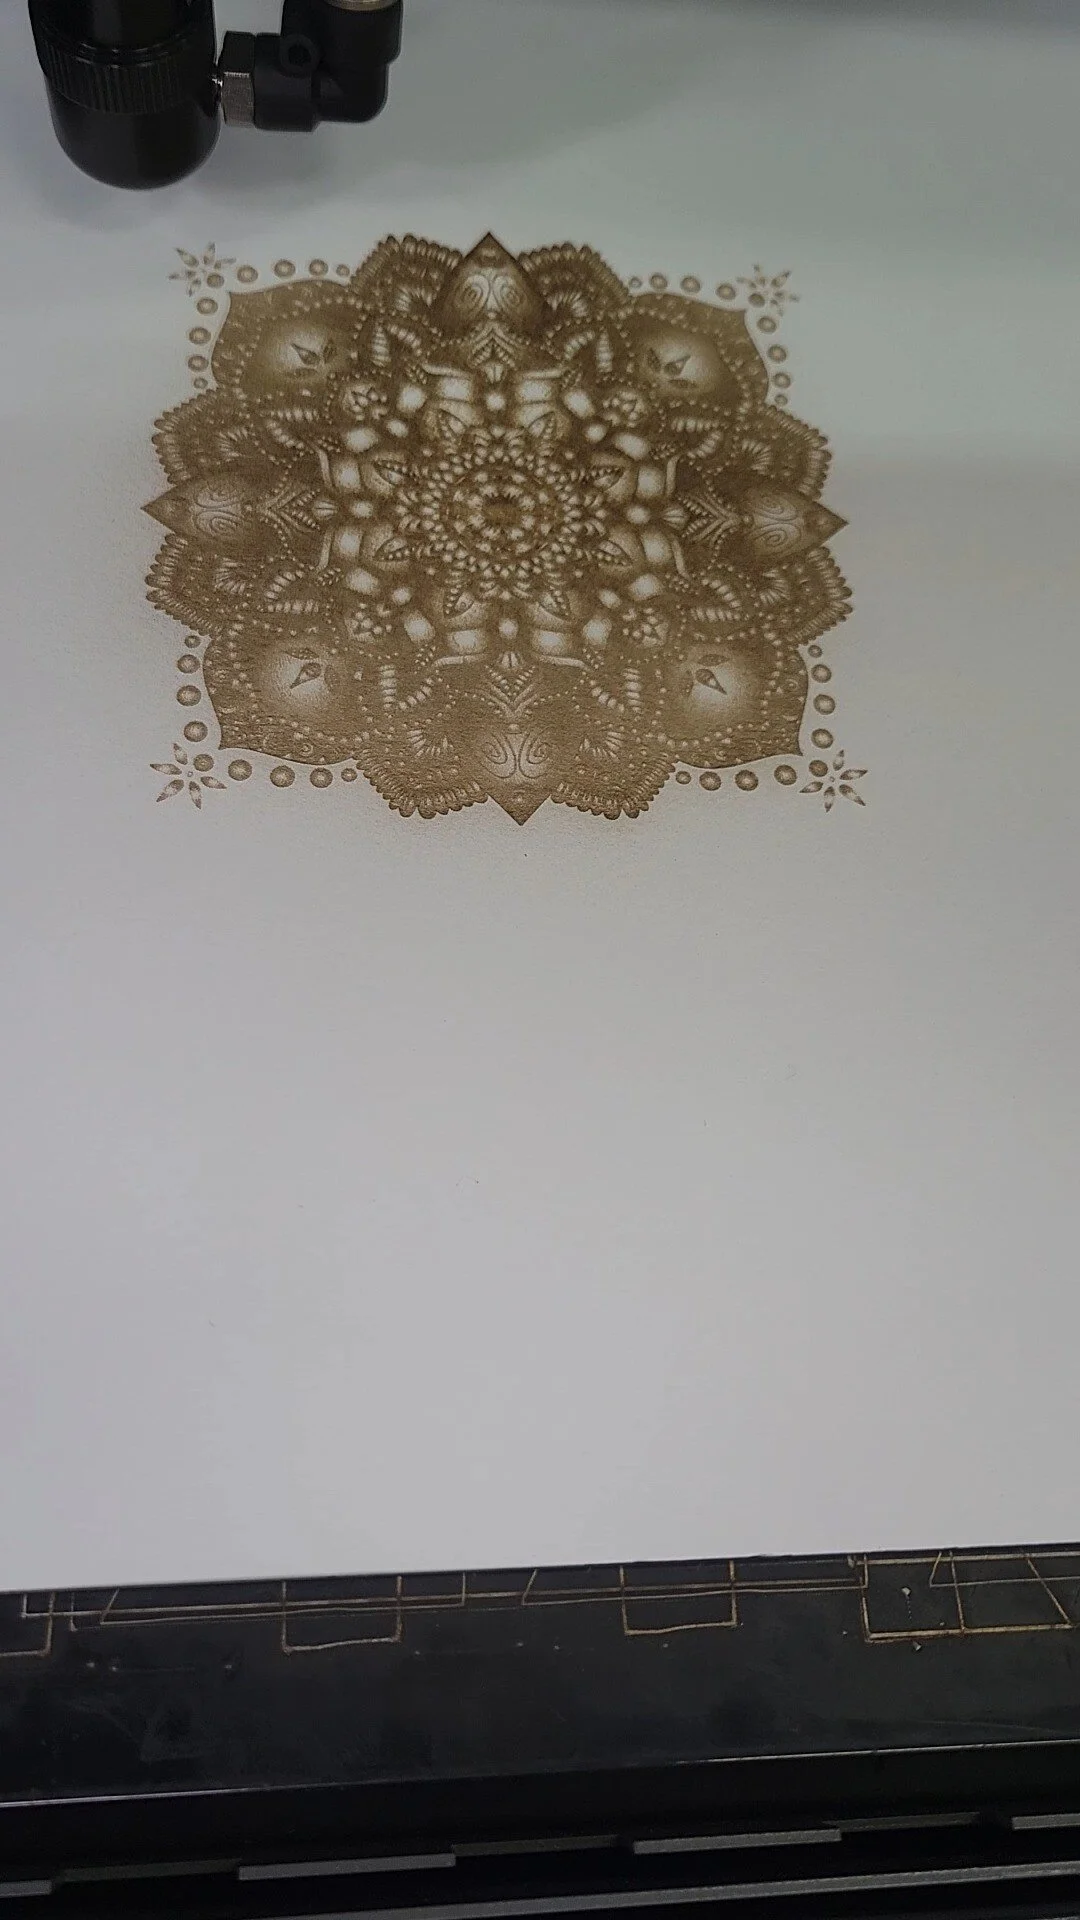
Setting Up Cut vs. Engrave Paths in Your Design File
The difference between a cutting path and an engraving path is crucial in laser file preparation. Getting this right upfront means your project will turn out exactly as intended, with clean cuts and detailed engravings in all the right places. Here's how to set it up correctly.
Understanding the Difference
A cut path is a line that the laser follows, completely removing material along that line. An engrave path (or raster engrave) is treated differently—the laser pulses or moves across a surface, removing just enough material to create texture, depth, or a visual pattern without cutting all the way through. Your design needs to clearly distinguish between these two operations.
Using Color-Based Coding
Most laser shops use a color-coding system: red lines cut, blue lines engrave, and so on. Before you design, ask your shop which colors they use. Once you know the standard, it's simple—put all your cut paths on a red layer and all your engravings on a blue layer. Make sure colors are pure (pure red is RGB 255, 0, 0) and that lines have no fill, only strokes.
Stroke vs. Fill Settings
For cutting, create a stroked path with no fill. Fills are for raster (pixel-based) engravings and use different laser settings. Make sure your vector software is set up correctly—strokes only for cuts and engravings from lines. If you're confused about your software's settings, ask your laser shop for guidance specific to the program you're using.
Layering for Organization
Use layers in your design software to keep cuts and engravings organized. Layer 1 could be all cut paths (red), Layer 2 all engrave paths (blue), etc. This keeps your file clean and makes it easy for your laser shop to review and process. It also makes it simple to disable a layer temporarily while you work on another part of the design.
Testing Before Final Production
If you're unsure about your setup, many laser shops will do a test run on scrap material first. The small cost is worth it to make sure everything processes exactly as you envision. Once you're confident in your file, you can move forward to full production.
Have questions about your file setup? American Laser Cutter offers file review and design consultation. Visit americanlaserco.com or send your file for feedback.
Wood Laser Cutting Services in LA: Options and Pricing
Wood is one of the most versatile and beautiful materials for laser cutting, and Los Angeles has some of the best laser cutting shops in the country—all equipped to handle everything from delicate veneer to thick hardwoods. Whether you're a designer, manufacturer, or maker, understanding your wood options and what to expect in terms of pricing will help you bring your project to life.
Types of Wood for Laser Cutting
Plywood and hardwoods like birch, oak, and maple cut beautifully with a laser, creating clean, slightly charred edges that often look intentional and beautiful. Softwoods like pine are less predictable but still work. Veneer and thin wood sheets are perfect for delicate pieces. Avoid treated wood, painted wood, or MDF with plastic coating—these release harmful fumes when lasered. Talk to your laser shop about material compatibility.
Design Possibilities
Wood laser cutting enables intricate detail work, precise joinery for 3D assemblies, decorative engravings, personalization, and beautiful signage. Many LA manufacturers and designers use wood laser cutting for prototyping, product packaging, architectural models, and custom home décor.
Pricing Factors
Wood cost is relatively low compared to acrylic or leather, but cutting time varies based on thickness and detail complexity. A simple 1/8" plywood cut might be inexpensive, while 3/4" hardwood with extensive detail takes longer and costs more. Material size matters too—if you're efficiently using material, costs stay down. Multiple identical pieces can be cost-effective. Rush jobs cost more than standard turnaround.
Turnaround Times
Simple wood projects often turnaround in 24-48 hours. Complex projects may take longer. American Laser Cutter's large-format equipment means we can handle big wood projects that smaller shops might refuse. We provide turnaround estimates with every quote.
Ready to laser cut wood for your LA project? Get a quote at americanlaserco.com—we'll review your design and let you know exactly what to expect in terms of timeline and cost.
Why Clients Trust American Laser Cutter for Repairs
CO₂ laser cutters are sophisticated pieces of equipment, and when they break, you need someone who genuinely understands the technology. American Laser Cutter doesn't just operate lasers—we repair and diagnose them, which means we understand their inner workings at a level few shops can match. That expertise is why thousands of companies and individuals trust us with their laser equipment.
Diagnostic Expertise
We can identify exactly what's wrong with your laser—whether it's the tube, mirrors, lenses, power supply, cooling system, or software. This diagnostic capability is crucial because misdiagnosis wastes time and money. We've worked on hundreds of laser units and know the common failure patterns. We'll tell you exactly what's broken and what it will cost to fix, with no surprises.
Quality Repairs That Last
We don't just swap parts and hope for the best. We understand laser optics, tube construction, electrical systems, and software calibration. We repair units so they perform like new. Our clients come back because repairs stick—they don't find themselves calling us again three months later with the same problem.
Speed and Reliability
Downtime is expensive. We prioritize getting your laser back in operation as quickly as possible, with turnaround times that respect your business needs. We're equipped to handle most repairs on-site or turn them around fast if the unit needs to come to our shop.
Honest Communication
If a repair isn't economical, we'll tell you. If a unit is beyond reasonable repair, we'll be honest about that too. We're not trying to squeeze dollars out of every job—we're trying to solve your problem in the most practical and cost-effective way possible. That honesty builds trust.
When your laser needs repair, don't guess—get expert diagnosis. Contact American Laser Cutter at americanlaserco.com or call for immediate support.
How to Get a Quote for Laser Cutting
Getting an accurate quote for laser cutting is straightforward, but having the right information ready will speed up the process and get you a more reliable estimate. Here's what you need to do and what to expect.
Prepare Your Design File
Start with your design in a vector format—PDF, Adobe Illustrator, CorelDRAW, or similar. If your design is in Photoshop or another raster format, you'll need to convert it to vector first. Make sure the file includes all the details you want—cuts, engravings, and specific dimensions. Your file doesn't have to be perfect, but the more complete it is, the better the quote.
Know Your Material and Dimensions
Specify the material (acrylic, wood, leather, etc.), the color or finish you need, and the thickness. Provide the overall size of your piece or the area it needs to fit into. If you're cutting multiple identical pieces from one sheet, specify how many. If you're not sure about material, ask—most laser shops have material specialists who can advise.
Communicate Your Timeline
Do you need the project tomorrow, or is next week fine? Rush jobs often cost more. Being flexible about timing can significantly reduce your cost. Most laser shops offer both standard and expedited turnaround options.
Submit and Wait for Response
Upload your file to the shop's quote system or email it directly, along with all the material and dimension details. Most reputable laser shops will review your file within hours and provide a quote. They may flag design issues or offer suggestions to improve cost or cut quality—listen to those suggestions.
Ask Questions Before Committing
If anything is unclear, ask. Does the quote include finishing? Are there setup fees? What's the exact turnaround time? What's the return policy if something isn't right? A good laser shop will answer all these questions clearly.
Ready to get started? Visit americanlaserco.com to submit your design and receive a quote within hours. We're here to help.
How Entertainment Prop Houses Use Laser Cutting
Behind every meticulously detailed set piece in film, television, and theater is often a laser cutter. Entertainment prop houses have embraced laser technology as essential to their workflow, enabling rapid prototyping, precise replication, and creative solutions that would be nearly impossible or prohibitively expensive to achieve by hand.
Speed for Demanding Timelines
Film and TV production schedules are unforgiving. A set designer might need 50 identical acrylic panels for a futuristic spaceship set, a thousand custom wooden laser-cut enhancements for a period piece, or intricate leather details for a character costume—all needed in days, not weeks. Laser cutting delivers that speed without sacrificing detail or quality. Prop houses can go from design to finished product in hours, not weeks.
Precision and Replication
Once a prop designer creates a master design, laser cutting enables exact replication at scale. Whether that's 10 identical acrylic light fixtures or 500 matching wooden set dressing pieces, the laser ensures consistency. This consistency matters enormously on camera—continuity supervisors need to know that every shot will look identical.
Complex Geometry and Detailing
Prop designers often need intricate geometric patterns, relief carvings, or perforated details that are labor-intensive to hand-create. A laser can engrave fine detail into acrylic, wood, or leather that brings designs to life visually. Layering different materials or colors after laser cutting allows prop designers to create visually rich, complex pieces that photograph beautifully under studio lighting.
Material Flexibility
Prop houses work with everything—acrylic for transparent or translucent elements, wood for structural pieces or textured details, leather for authentic historical details, rubber for safe prop weaponry, even rubber for flexible pieces. Knowing that a laser shop can handle multiple materials without retooling means faster scheduling and more creative freedom.
If you're working in entertainment, film, or theater and need custom props, American Laser Cutter has served Warner Bros and other major production companies. We understand production timelines and can deliver. Get in touch at americanlaserco.com.
Acrylic Laser Cutting in Los Angeles: A Complete Guide
Acrylic laser cutting has revolutionized how LA's creators, entrepreneurs, and manufacturers produce everything from architectural models to custom signage, jewelry, and decorative art. This comprehensive guide covers everything you need to know about laser-cutting acrylic in Los Angeles, from material selection to finding the right shop and managing your project.
Why Acrylic Dominates in LA's Creative Industries
Los Angeles is a city of visual design—from entertainment and fashion to tech startups and fine art. Acrylic's combination of clarity, workability, and affordability makes it perfect for rapid prototyping, custom displays, and one-of-a-kind creations. It cuts cleanly, engraves beautifully, and takes color applications well. Whether you're building a museum display, creating retail fixtures, or designing architectural elements, acrylic delivers professional results.
Understanding Acrylic Types and Grades
Not all acrylic cuts the same. Cast acrylic, made through a slower casting process, offers superior edge clarity and cuts with smoother, more polished edges. Extruded acrylic is less expensive but often produces hazier edges and can be more prone to stress cracks. For projects where appearance matters—signage, displays, jewelry, architectural models—cast acrylic is the professional choice. You'll find that most LA designers and manufacturers prefer cast for client work.
Acrylic also comes in various finishes: crystal clear, frosted (diffusing light beautifully), opaque, and in virtually any color imaginable. Thickness ranges from 1/8" for delicate pieces to 3/4" or beyond for structural components. Thicker acrylic requires more cutting time and power, which affects cost.
What You Can Create with Laser Cutting
The possibilities are genuinely broad. Signage and wayfinding displays with perfect edges and engraved details. Architectural models with hundreds of precisely cut components. Custom jewelry and accessories with intricate patterns. Retail displays and fixtures. Lighting installations that exploit acrylic's light-transmission properties. Prototypes for product development. Engraved awards, plaques, and recognition pieces. Even complex assemblies—multiple acrylic pieces designed to fit together perfectly.
Finding the Right LA Laser Shop
You want a shop with proven acrylic experience, reliable turnaround times, and equipment that can handle your project size. Check their portfolio—can they show you examples of clean edges and detailed work? Do they understand the material science behind acrylic cutting? Can they offer guidance on material selection and design optimization? American Laser Cutter's four large-format CO₂ lasers, 5,000+ completed projects, and experience serving everyone from NASA to Warner Bros make us well-equipped to handle acrylic work at any scale.
Preparing Your Acrylic Project
Start with a clean vector file—Adobe Illustrator, CorelDRAW, or Inkscape. Include all dimensions and clearly identify which lines should be cut versus engraved. Account for kerf (the small amount of material removed by the laser beam—typically 0.1-0.15mm). If pieces need to fit together precisely, mention that upfront. Your laser shop will review your file and point out any potential issues before cutting begins. This collaboration is where experience makes a real difference.
Timeline and Cost Considerations
Simple jobs can turnaround in 24-48 hours. Complex projects with multiple pieces or custom finishes may take longer. Cost depends on material price, the number of cuts and engravings, complexity of the design, and any post-processing (edge polishing, painting, assembly). Getting a detailed quote upfront helps you budget and plan. Most LA shops including American Laser Cutter provide quotes within hours.
Design Tips for Best Results
Avoid extremely thin walls or tiny details—laser beams have physical width, and there are limits to detail resolution. Keep sharp corners where possible; very curved or intricate cuts take longer. If you need multiple identical pieces, design one perfect piece and let your laser shop duplicate it. Plan for material orientation to minimize waste. Leave adequate spacing between pieces if you're doing multiple cuts from one sheet.
Post-Processing and Finishing
Laser-cut acrylic edges are naturally clean and smooth, but some projects benefit from additional finishing. Edge polishing creates a glass-like appearance. Painting or coating the acrylic adds color or texture. Adhesive assembly with acrylic cement creates strong bonds. Anodizing or coating engraved surfaces adds contrast. Discuss finishing options with your laser shop—they'll advise on what makes sense for your design.
Ready to bring your acrylic project to life? American Laser Cutter in Downtown LA is equipped to handle any scale, from single pieces to production runs. Visit americanlaserco.com to get started, or call for a consultation about your specific project needs.
Choosing the Right Acrylic for Your Project
Acrylic is one of the most popular materials for laser cutting, but not all acrylic is created equal. Understanding the differences between cast and extruded acrylic, clarity options, and thickness will help you choose the right material for your project and get the best results.
Cast vs. Extruded Acrylic
Cast acrylic is made by pouring liquid acrylic into molds, creating a denser, more consistent material. It has better laser-cutting characteristics, cleaner edges, and superior clarity. Extruded acrylic is less expensive but tends to produce rougher edges when cut and can be less stable under laser heat. For projects where edge quality matters—like acrylic displays, signage, or decorative pieces—cast acrylic is worth the investment.
Clarity and Finish Options
Acrylic comes in crystal clear, frosted, and colored varieties. Clear acrylic is perfect for anything that needs transparency. Frosted acrylic diffuses light beautifully for backlit signs and creates an elegant, modern look. Colored acrylics let you build designs without paint or post-processing. Keep in mind that some colors are more prone to heat stress during cutting—your laser shop can guide you on which colors cut cleanest.
Thickness Matters
Acrylic thickness ranges from 1/8" to 1/2" or thicker. Thin acrylic (1/8") is ideal for intricate pieces, jewelry, and detailed engravings. Medium thickness (1/4") is perfect for signage, displays, and structural elements. Thicker acrylic (3/8" and up) works well for heavy-duty applications. Thicker material takes longer to cut and requires more power, which affects cost and turnaround time.
Edge Quality Expectations
Laser-cut acrylic edges are naturally clean and polished, but the quality depends on material choice and cutting technique. Cast acrylic typically produces the cleanest edges. If you want polished edges, discuss that with your shop—some operations offer edge polishing as a finishing service.
Ready to start your acrylic project? Reach out to American Laser Cutter with details about your design and material needs. Visit americanlaserco.com for a quote.
Laser Cutting in the Fashion Industry: LA's Creative Edge
LA's fashion industry thrives on innovation, precision, and speed. Laser cutting has become essential for designers creating everything from intricate leather jackets to custom athletic wear, acrylic accessories, and experimental textiles. For fashion brands looking to push creative boundaries while maintaining production efficiency, laser technology is transformative.
From Concept to Runway
Fashion designers use laser cutting to create patterns with precision that hand-cutting can't match. Intricate leather vests, perforated fabrics, geometric acrylic inlays, and custom embellishments are all possible with laser technology. Designers can iterate quickly—testing new patterns and shapes without the setup costs of traditional tooling. This speed matters in fashion, where seasonal trends move fast and design evolution never stops.
Materials That Shine
Acrylic is huge in contemporary fashion—everything from statement jewelry to transparent panels in high-end garments. Leather gets laser-cut for custom details, leaving clean edges without any stretching or fraying. Even delicate fabrics like silk and lace can be engraved with intricate patterns. LA's top fashion brands work with laser shops to explore material possibilities that traditional manufacturing can't offer.
Custom Accessories and Limited Editions
Luxury brands and emerging designers alike use laser cutting to create limited-edition pieces and custom accessories. A small batch of acrylic clutches, hand-finished leather details, or engraved metal inlays becomes a signature element. Laser technology enables production runs that wouldn't be economically viable otherwise, making it possible to offer custom, collectible pieces.
Speed Meets Craftsmanship
The fashion industry rewards speed—getting a collection ready for a pop-up, event, or market drop can be the difference between success and missed opportunity. American Laser Cutter's turnaround times and expertise with delicate materials make us a trusted partner for LA's fashion community. We understand that precision, speed, and material knowledge all matter equally.
If you're designing fashion or working on a collection, let's talk about how laser cutting can elevate your work. Visit americanlaserco.com to get a quote.
LASER CUTTING RESOURCES
This website is fantastic to pick up parts for your laser cutter.
This is a fantastic replacement software for laser cutters
https://lightburnsoftware.com/
This is a link to RdWorks software
https://www.ruidacontroller.com/download/
rescue files for RDworks and lightburn (still adding files)