
Laser 101: FAQs & Tips for Laser Cutting
New to laser cutting? Start here. We explain the basics—how CO₂ lasers cut and engrave, which materials are safe, and how to set up your file. You’ll learn the difference between cutting and engraving, why vector files matter, and simple ways to avoid burn marks or rough edges. We also cover safety, ventilation, and tips for better results. Whether you plan to rent a laser or have us do the work, this quick guide will help you make confident choices and get cleaner parts.
FAQs
- Cutting vs. engraving—what’s the difference?
Cutting goes through the material; engraving marks the surface. - Which materials are safe to cut?
Common options include acrylic, wood, cardboard, some fabrics, and other laser-safe materials. Avoid PVC and unknown plastics. - Why won’t JPEG or PNG work for cutting?
They don’t contain paths. Laser cutters need vector files like AI, DXF, or PDF. - What software should I use?
Illustrator or LightBurn are common choices. Export clean vectors at the correct scale. - Any quick tips for cleaner results?
Use the right material, nest parts to save stock, keep optics clean, and choose sensible power/speed settings.
Laser Engraving vs. Laser Cutting: What's the Difference?
Laser engraving and laser cutting both use laser technology, but they're fundamentally different operations with different results and applications. Understanding the difference will help you choose the right process for your project and set proper expectations.
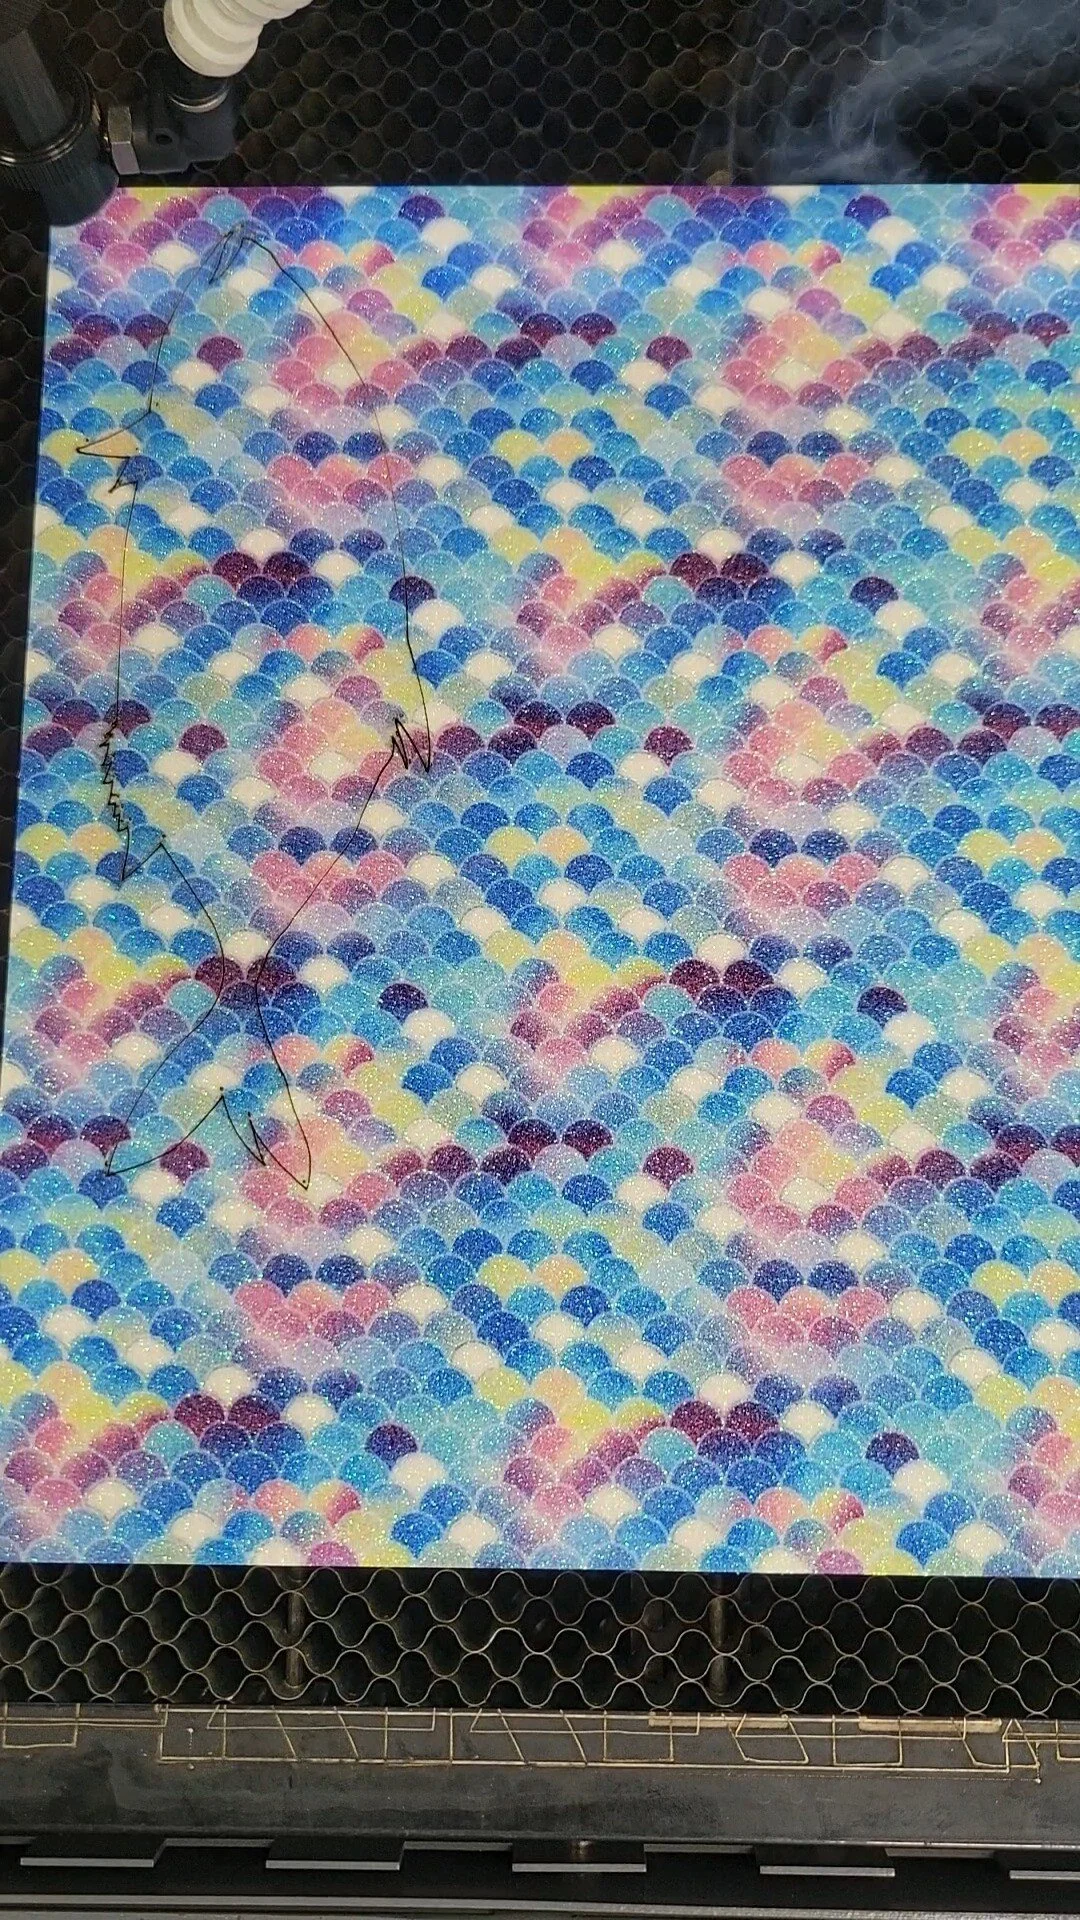
Laser Cutting: Complete Separation
Laser cutting directs a high-powered beam to follow a precise path through material, completely removing material along that path. The result is two separate pieces—the cut-out shape and the remaining material with a hole or opening. Cutting requires enough laser power to fully penetrate the material. Cut edges have a characteristic slightly charred appearance, but they're clean and precise.
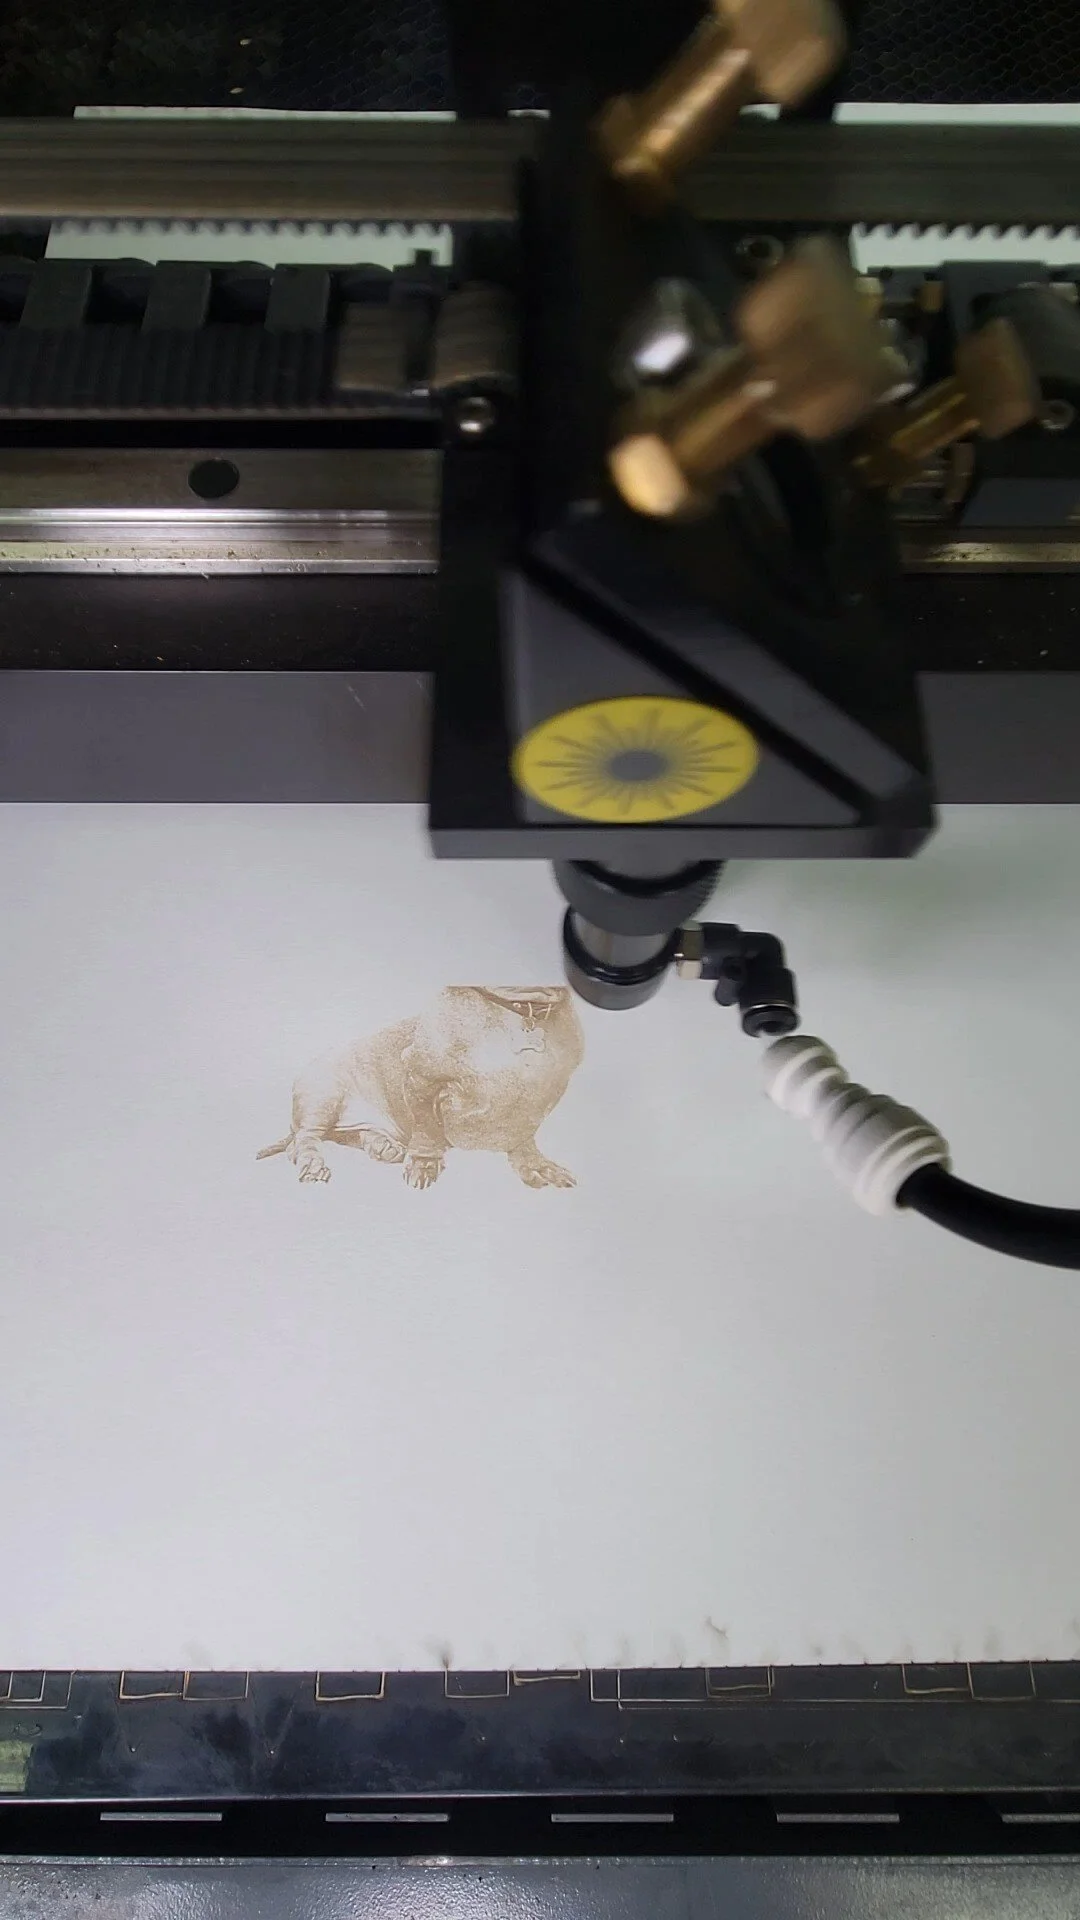
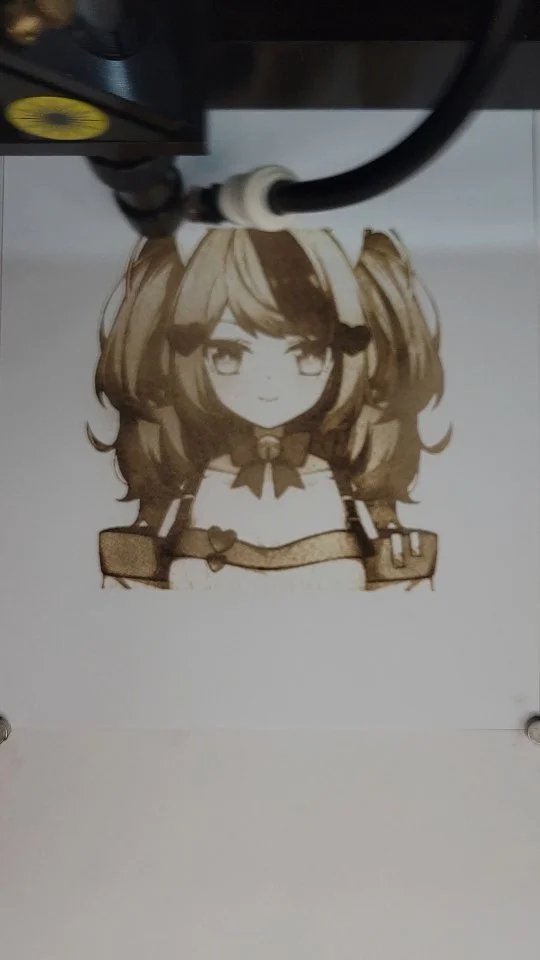
Laser Engraving: Surface Removal
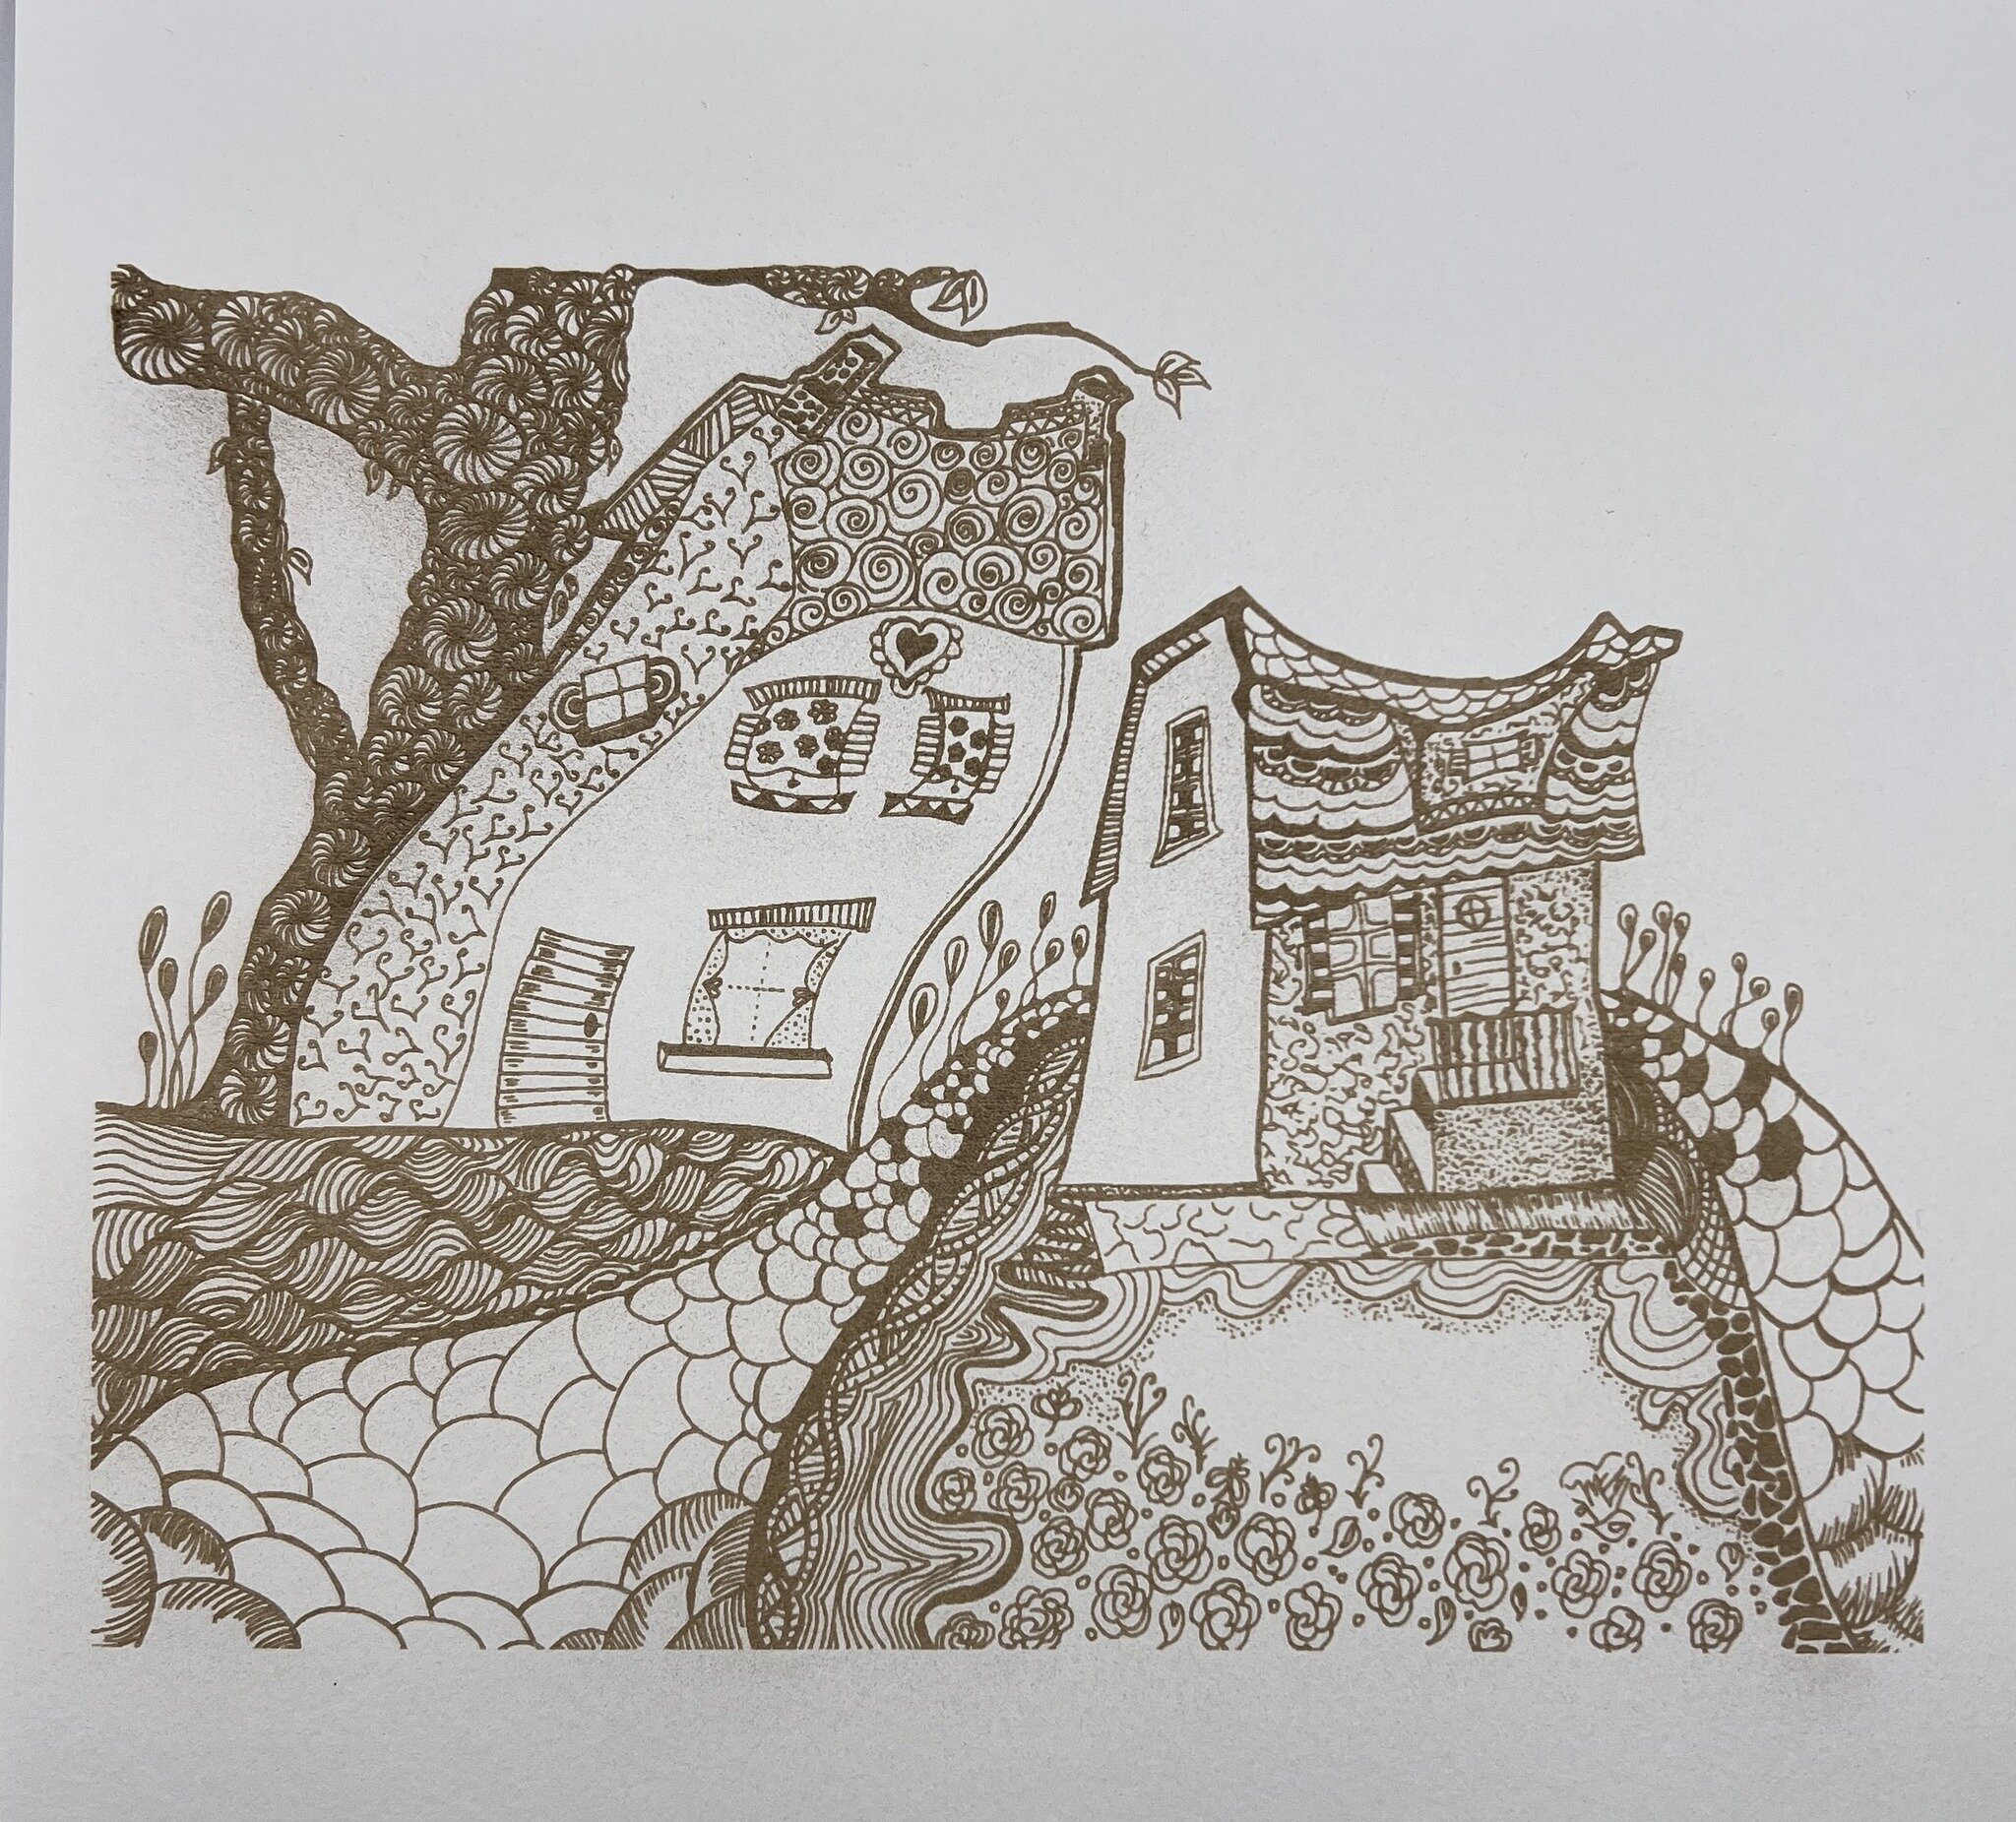
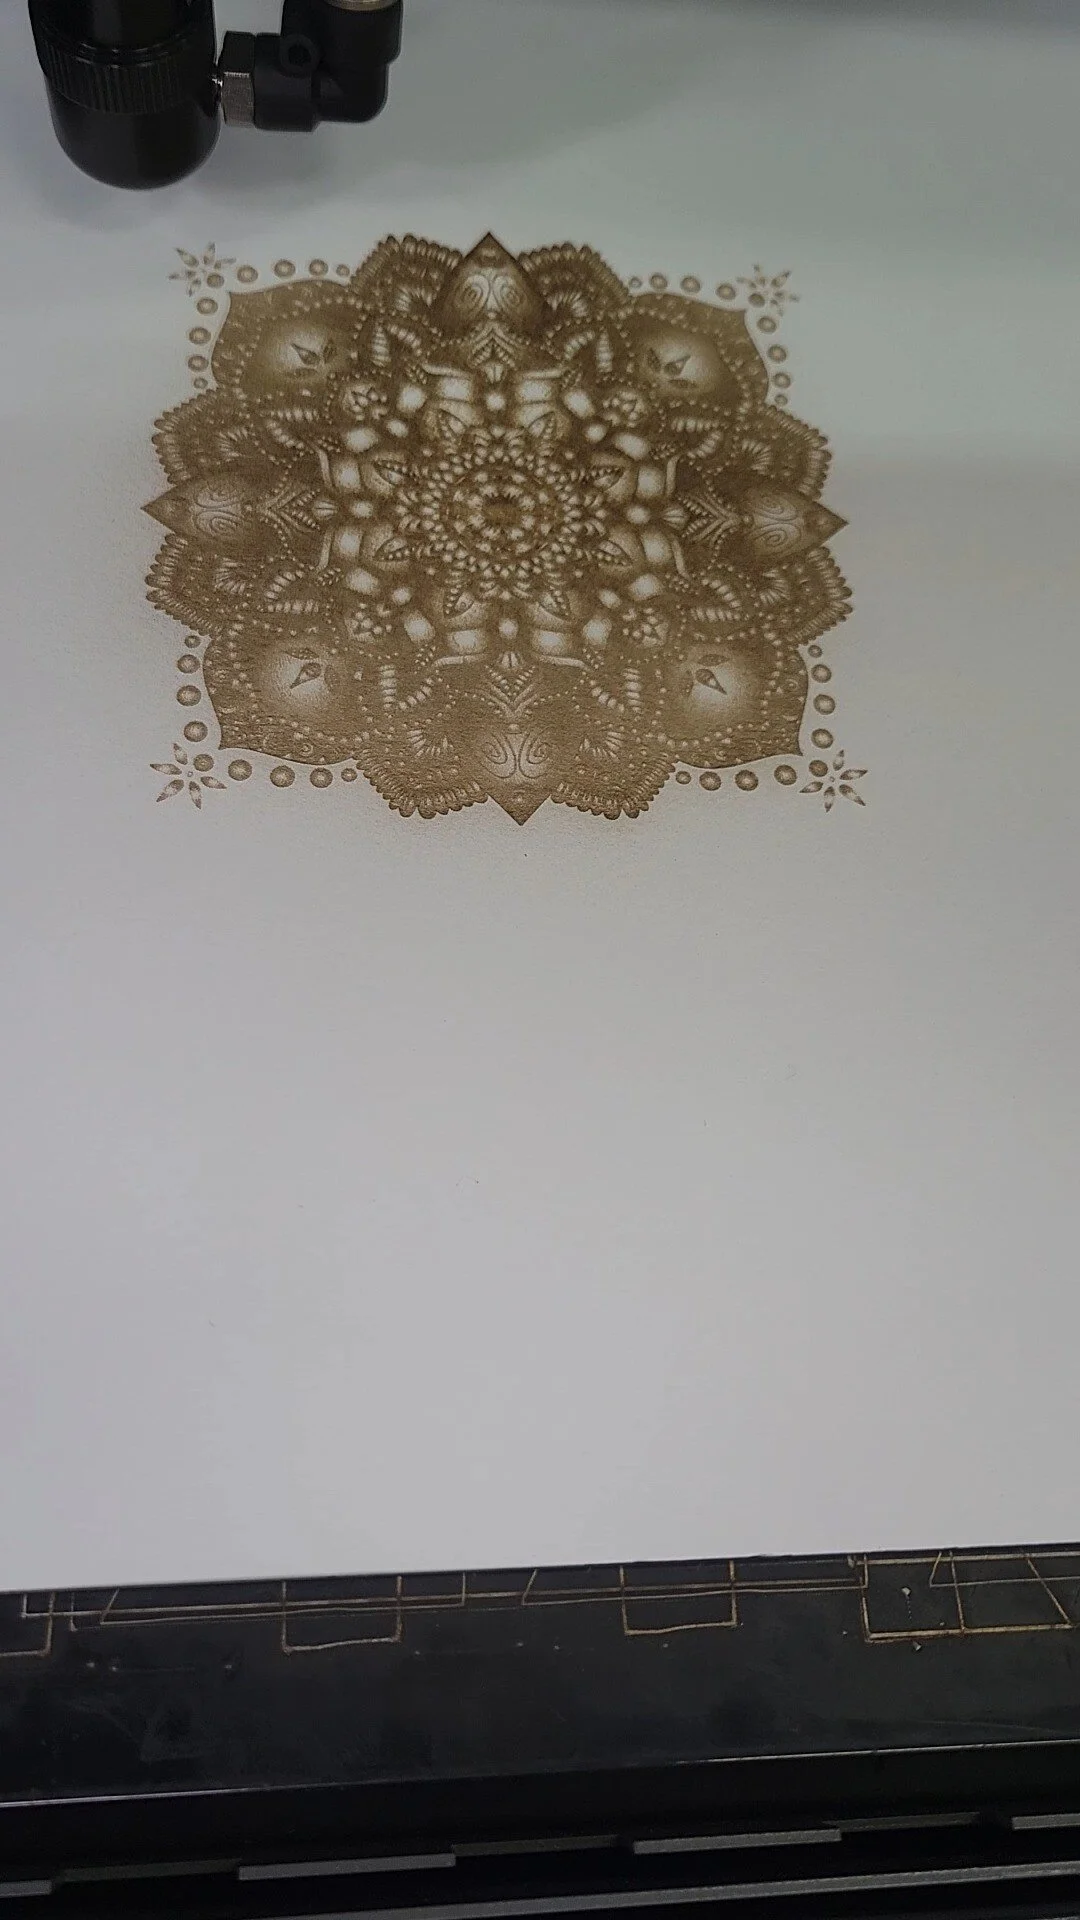
Laser engraving removes material from the surface without cutting all the way through. The laser pulses across an area, vaporizing just the surface layer. The result is a recessed pattern, text, or image on the surface. Engravings can be very detailed because the laser doesn't need to penetrate fully. You're essentially etching a design onto the material.
When to Choose Cutting
Choose cutting when you need to create distinct pieces—custom shapes, interlocking components, letters or logos that are separate from the background material. Cutting is ideal for creating dimensional pieces or assemblies where parts fit together.
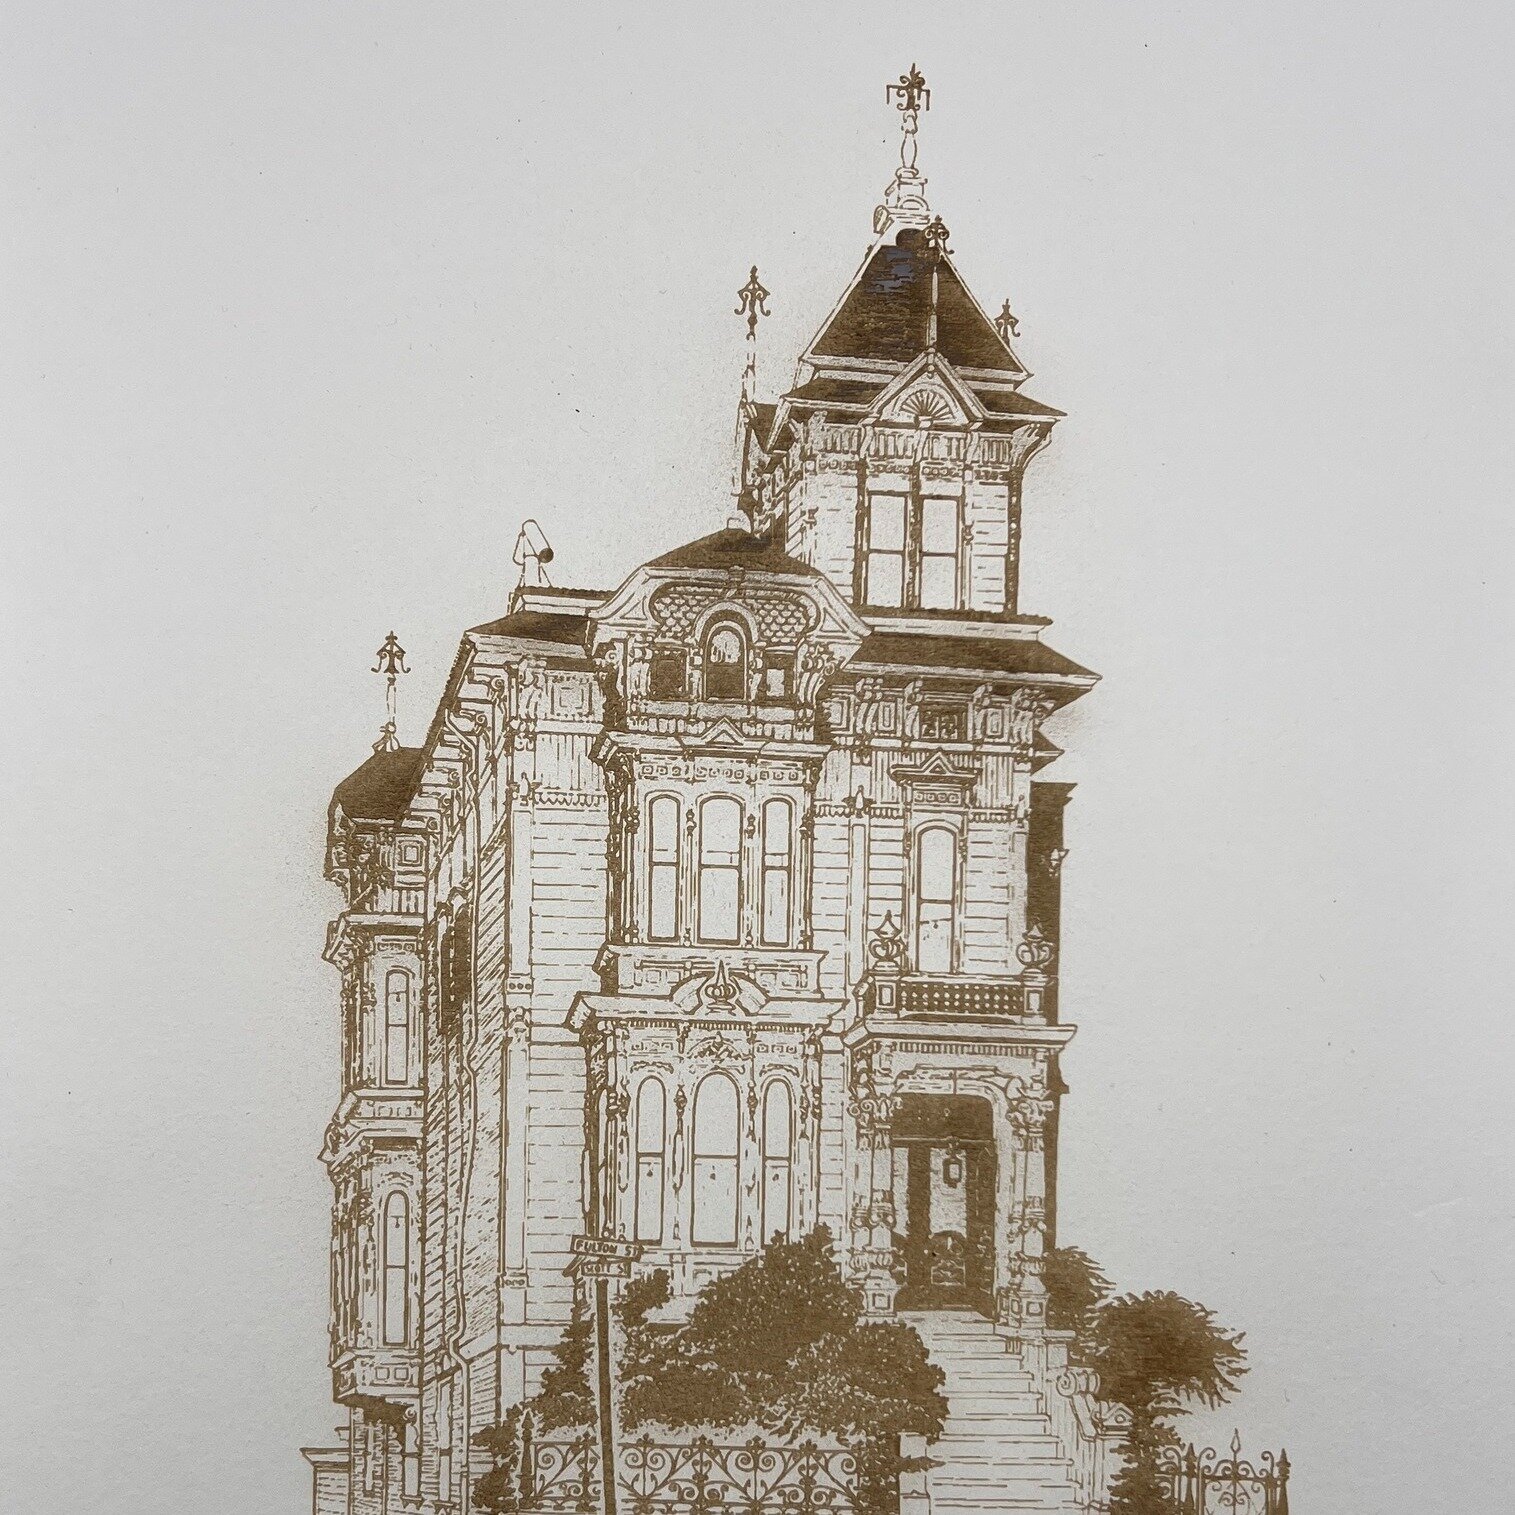
When to Choose Engraving
Choose engraving when you want to add detail or personalization without separating material. Engraved text on a plaque. Detailed artwork engraved on acrylic. A logo engraved into wood. Engravings work beautifully for photography, fine detail, or surface decoration. Engravings can incorporate gradients and shading in ways cutting cannot.
Material Considerations
Most materials work with both cutting and engraving, but response differs. Acrylic cuts cleanly but can be fragile if cut into small pieces. Engraved acrylic looks sophisticated. Wood cuts beautifully and engravings add detail. Leather and rubber respond well to both. Discuss material options with your laser shop.
Combining Cutting and Engraving
Many projects combine both: an acrylic shape (cut) with engraved details on the surface. A wood sign (cut) with engraved text. This combination approach uses the strengths of both processes. Design files can include both cut and engrave paths, processed in a single job.
Cost and Timeline
Cutting is generally faster for simple shapes because the laser follows distinct paths. Engraving can take longer if there's extensive detail or shading. Simple engravings are fast. Complex engravings with photo-like detail take more time. Costs reflect the time required.
Still uncertain which process suits your project? American Laser Cutter can advise. Visit americanlaserco.com to discuss your design and get recommendations.
How to Prep Fabric for Laser Cutting
Fabric is less common for laser cutting than acrylic or wood, but certain fabrics can be laser-cut beautifully when properly prepared. Delicate fabrics can have intricate patterns engraved. Structured fabrics can be cut with precision. Here's how to prepare fabric for laser cutting and what to expect.
Which Fabrics Work Best
Natural fabrics cut much better than synthetics. Cotton, linen, silk, and wool are generally good candidates. Synthetics like polyester can melt or shrink from laser heat. Avoid blends with high synthetic content. Ask your laser shop about your specific fabric—they can advise whether it's suitable.
Fabric Stabilization
Some fabrics are too delicate to hold their shape during cutting. These benefit from temporary stabilization—a backing material that supports the fabric while the laser works. Water-soluble stabilizers are ideal; the fabric is stabilized during cutting, then the backing dissolves away. Your laser shop can advise on stabilization options for your specific fabric.
Design Considerations
Fabric fibers respond differently to the laser than solid materials. Thin, delicate lines might not cut cleanly. Intricate designs with very fine detail might not work as hoped. Consult with your laser shop about what's realistic. Engravings often work better on fabric than cuts because engravings don't need to completely separate the material.
Material Preparation
Start with clean, dry fabric. If your fabric has been folded, press it flat. Remove any loose threads or debris. If the fabric is wrinkled or stretched, that affects how it sits under the laser and can impact cut quality. Bring your fabric to your laser shop or have it delivered to them before cutting begins.
What to Expect
Fabric edges will have some charring—that's normal with laser cutting. The amount depends on the fabric and laser settings. Sealing the edges with a light application of fray check prevents unraveling. Your laser shop can advise on finishing techniques that work well for your specific project.
Testing First
If you're unfamiliar with your fabric's response to laser cutting, test on a small scrap first. You'll see how the edges look, how much charring occurs, and whether the design renders as expected. Testing prevents surprises on your full piece.
Planning fabric laser cutting? Talk to the team at American Laser Cutter about your material and design. Visit americanlaserco.com.
Understanding Kerf: How to Account for Material Loss
Kerf is one of the most important concepts in laser cutting, and understanding it will save you frustration and failed parts. Kerf is the width of material that the laser removes as it cuts—typically 0.003" to 0.005" depending on material, focus, and laser settings. For most projects, kerf is negligible. But for precise assemblies or fitted parts, accounting for kerf is essential.
What Is Kerf Exactly?
The laser beam has finite width. As it follows a cut path, it removes material from both sides of the path. This removed material is kerf. For a 0.004" kerf on a cut, the total material removed is 0.004", but it's distributed across both sides of the path (0.002" on each side). Understanding this distribution helps you design accurately.
When Kerf Matters
For simple cuts or engravings, kerf is invisible—you'll never notice it. But if you're designing interlocking parts, dovetail joints, or pieces that need to fit together precisely, kerf affects dimensions. If you design a slot to be exactly 0.250" and kerf removes 0.004", the actual slot opening will be 0.246"—half a kerf on each side. If a tab is designed to be 0.250" and kerf removes 0.004", the tab will be 0.254" (kerf adds to each side). Parts won't fit as intended.
How to Account for Kerf
There are two approaches. First, test on prototype material with your specific laser and settings. Cut a few test pieces and measure. If you discover a kerf of 0.004", you now know how to adjust your design. Second, ask your laser shop upfront what their typical kerf is for your material and thickness. They can tell you and suggest design adjustments.
Kerf Direction Matters
When kerf is removed, does it come off the inside of your intended cut or the outside? For slots that something will fit into, kerf makes the slot slightly narrower. For tabs that fit into slots, kerf makes tabs slightly wider. Designing with this in mind prevents fits that are too tight or too loose.
Testing and Refinement
Always test fit before full production on precision work. Cut one set of parts and verify they fit as intended. Tolerance issues reveal themselves immediately. Once you've confirmed fit, you can confidently move to full production knowing parts will fit correctly.
Designing precision laser-cut parts? American Laser Cutter can advise on kerf accounting and help you achieve proper fits. Visit americanlaserco.com to discuss your specifications.
How to Design for Tight Tolerances in Laser Cutting
When pieces need to fit together precisely—mechanical assemblies, interlocking components, or dimensional accuracy for engineering applications—designing for laser cutting requires understanding the capabilities and limitations of the technology. Here's how to design for tight tolerances and ensure parts fit as intended.
Understand Your Equipment's Accuracy
Different lasers have different accuracy specs. Most modern CO₂ lasers achieve ±0.005" or better on cut accuracy. Some achieve ±0.002" or better under ideal conditions. Before designing, confirm your laser shop's accuracy specifications. This is your baseline—don't design tolerances tighter than the equipment can deliver consistently.
Account for Kerf in Your Calculations
The laser beam has width—typically 0.003" to 0.005" depending on focus and material. This removes material, an amount called kerf. If you're designing interlocking parts, slots, or components that need to fit together, kerf affects dimensions. Design your parts slightly larger or smaller than nominal to account for kerf. Your laser shop can guide you on exact kerf amounts for your specific material and equipment.
Test Fit Before Full Production
Always do a test run on prototype material before committing to full production. Cut a few test pieces and verify they fit as designed. Tolerance issues reveal themselves immediately. Once you've confirmed fit, you can proceed to full production with confidence. The cost of testing is trivial compared to producing hundreds of parts that don't fit.
Material Variation Matters
Material thickness can vary slightly between suppliers or even between sheets from the same supplier. Design your tolerances knowing that material thickness might vary ±0.015" or more. If your design is sensitive to thickness variation, account for it. Test with the actual material you'll be using in production.
Focus and Cutting Angle
For the tightest tolerances, consistent laser focus is critical. Material thickness affects ideal focus point. At material edges, the laser cuts at a slight angle. For precision work, your laser shop may make multiple passes or use techniques that tighten tolerances. Discuss precision requirements upfront—they may adjust settings or process to meet your specs.
Assembly and Finishing Tolerance
Laser cutting precision is one part of the equation. How parts are assembled, finished, and handled affects final dimensional accuracy. If you need very tight overall dimensions, discuss the entire process with your laser shop—cutting, assembly, and finishing together determine final tolerance.
Designing precision laser-cut parts? American Laser Cutter has extensive experience with tight-tolerance work. Talk to our team about your specifications. Visit americanlaserco.com.
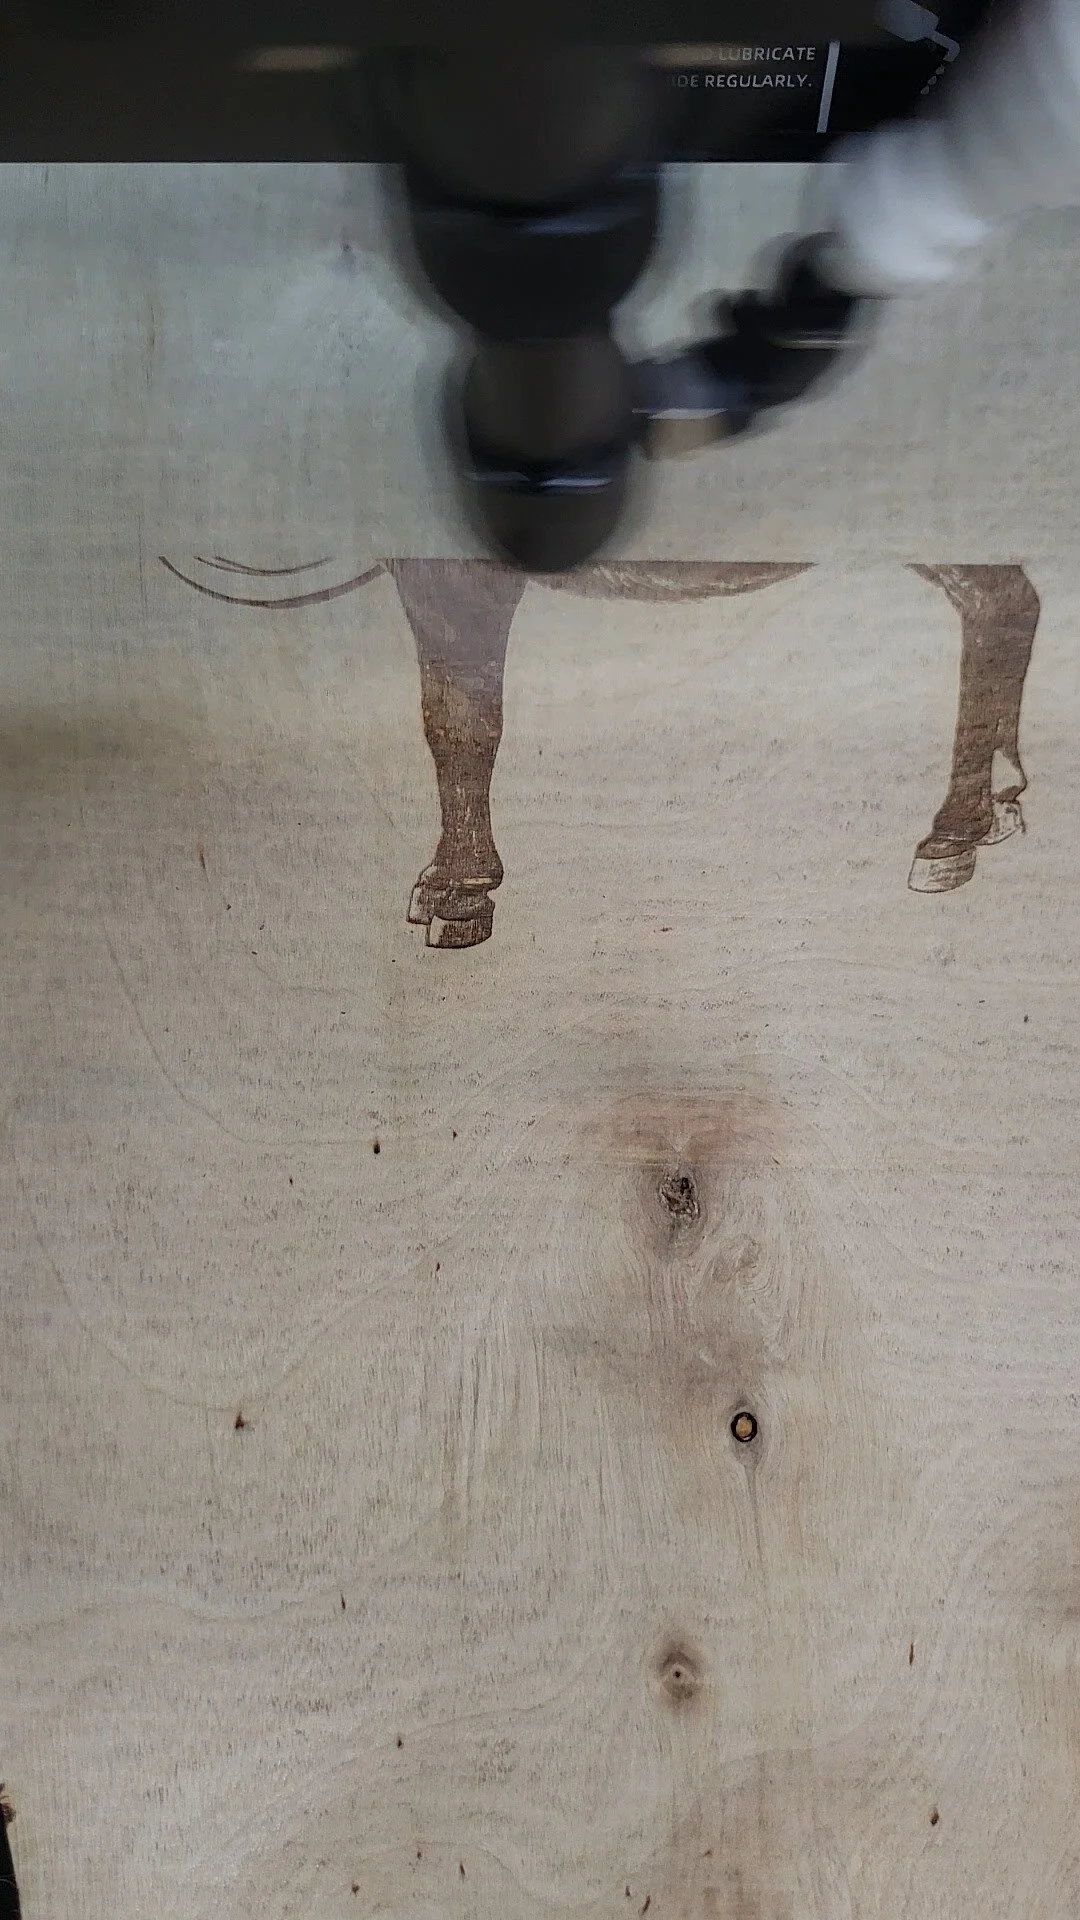
Tips for Laser Cutting Wood Without Burn Marks
Laser cutting naturally produces a slight char on wood edges—it's the nature of the technology. But excessive burn marks, dark discoloration, or deep charring are signs that something's off. With the right approach, you can minimize burning and achieve clean, light-colored edges that look professional.
Choose the Right Wood
Different woods respond differently to laser heat. Hardwoods like birch and oak tend to burn less than softwoods. Plywood cuts cleanly if it's good quality—low-quality plywood with synthetic binders can burn heavily. Veneer and thin wood sheets are less prone to burning. Ask your laser shop which woods work best in their specific equipment.
Material Preparation
Start with clean, dry wood. Moisture and dirt can contribute to burning. If your wood has been stored in humid conditions, let it acclimate to your laser shop's environment for a day or two before cutting. Clean the surface gently to remove dust or debris that might increase heat buildup.
Laser Settings Matter
Slower cutting (lower speed) at lower power can actually produce more burn than the right speed-power combination. Your laser shop has experience dialing in settings for different wood types and thicknesses. Trust their settings—they've optimized for clean cuts with minimal burning on every material they work with regularly.
Air Assist and Cooling
Many laser cutters use compressed air (air assist) to blow away hot particles and cool the cutting edge as the laser works. This dramatically reduces burning. If your shop doesn't use air assist, they should explain why. Proper cooling is fundamental to clean cuts on wood.
What to Expect
Light charring on wood edges is normal and often adds visual character. Deep black burning isn't necessary and suggests either wrong material, incorrect settings, or equipment issues. Talk to your laser shop about your burn concerns—they may adjust settings or recommend different wood if your project requires absolutely minimal charring.
Planning a wood laser cutting project? Let American Laser Cutter handle it. We'll deliver clean cuts with minimal burning. Get a quote at americanlaserco.com.
Setting Up Cut vs. Engrave Paths in Your Design File
The difference between a cutting path and an engraving path is crucial in laser file preparation. Getting this right upfront means your project will turn out exactly as intended, with clean cuts and detailed engravings in all the right places. Here's how to set it up correctly.
Understanding the Difference
A cut path is a line that the laser follows, completely removing material along that line. An engrave path (or raster engrave) is treated differently—the laser pulses or moves across a surface, removing just enough material to create texture, depth, or a visual pattern without cutting all the way through. Your design needs to clearly distinguish between these two operations.
Using Color-Based Coding
Most laser shops use a color-coding system: red lines cut, blue lines engrave, and so on. Before you design, ask your shop which colors they use. Once you know the standard, it's simple—put all your cut paths on a red layer and all your engravings on a blue layer. Make sure colors are pure (pure red is RGB 255, 0, 0) and that lines have no fill, only strokes.
Stroke vs. Fill Settings
For cutting, create a stroked path with no fill. Fills are for raster (pixel-based) engravings and use different laser settings. Make sure your vector software is set up correctly—strokes only for cuts and engravings from lines. If you're confused about your software's settings, ask your laser shop for guidance specific to the program you're using.
Layering for Organization
Use layers in your design software to keep cuts and engravings organized. Layer 1 could be all cut paths (red), Layer 2 all engrave paths (blue), etc. This keeps your file clean and makes it easy for your laser shop to review and process. It also makes it simple to disable a layer temporarily while you work on another part of the design.
Testing Before Final Production
If you're unsure about your setup, many laser shops will do a test run on scrap material first. The small cost is worth it to make sure everything processes exactly as you envision. Once you're confident in your file, you can move forward to full production.
Have questions about your file setup? American Laser Cutter offers file review and design consultation. Visit americanlaserco.com or send your file for feedback.
How to Get a Quote for Laser Cutting
Getting an accurate quote for laser cutting is straightforward, but having the right information ready will speed up the process and get you a more reliable estimate. Here's what you need to do and what to expect.
Prepare Your Design File
Start with your design in a vector format—PDF, Adobe Illustrator, CorelDRAW, or similar. If your design is in Photoshop or another raster format, you'll need to convert it to vector first. Make sure the file includes all the details you want—cuts, engravings, and specific dimensions. Your file doesn't have to be perfect, but the more complete it is, the better the quote.
Know Your Material and Dimensions
Specify the material (acrylic, wood, leather, etc.), the color or finish you need, and the thickness. Provide the overall size of your piece or the area it needs to fit into. If you're cutting multiple identical pieces from one sheet, specify how many. If you're not sure about material, ask—most laser shops have material specialists who can advise.
Communicate Your Timeline
Do you need the project tomorrow, or is next week fine? Rush jobs often cost more. Being flexible about timing can significantly reduce your cost. Most laser shops offer both standard and expedited turnaround options.
Submit and Wait for Response
Upload your file to the shop's quote system or email it directly, along with all the material and dimension details. Most reputable laser shops will review your file within hours and provide a quote. They may flag design issues or offer suggestions to improve cost or cut quality—listen to those suggestions.
Ask Questions Before Committing
If anything is unclear, ask. Does the quote include finishing? Are there setup fees? What's the exact turnaround time? What's the return policy if something isn't right? A good laser shop will answer all these questions clearly.
Ready to get started? Visit americanlaserco.com to submit your design and receive a quote within hours. We're here to help.
Choosing the Right Acrylic for Your Project
Acrylic is one of the most popular materials for laser cutting, but not all acrylic is created equal. Understanding the differences between cast and extruded acrylic, clarity options, and thickness will help you choose the right material for your project and get the best results.
Cast vs. Extruded Acrylic
Cast acrylic is made by pouring liquid acrylic into molds, creating a denser, more consistent material. It has better laser-cutting characteristics, cleaner edges, and superior clarity. Extruded acrylic is less expensive but tends to produce rougher edges when cut and can be less stable under laser heat. For projects where edge quality matters—like acrylic displays, signage, or decorative pieces—cast acrylic is worth the investment.
Clarity and Finish Options
Acrylic comes in crystal clear, frosted, and colored varieties. Clear acrylic is perfect for anything that needs transparency. Frosted acrylic diffuses light beautifully for backlit signs and creates an elegant, modern look. Colored acrylics let you build designs without paint or post-processing. Keep in mind that some colors are more prone to heat stress during cutting—your laser shop can guide you on which colors cut cleanest.
Thickness Matters
Acrylic thickness ranges from 1/8" to 1/2" or thicker. Thin acrylic (1/8") is ideal for intricate pieces, jewelry, and detailed engravings. Medium thickness (1/4") is perfect for signage, displays, and structural elements. Thicker acrylic (3/8" and up) works well for heavy-duty applications. Thicker material takes longer to cut and requires more power, which affects cost and turnaround time.
Edge Quality Expectations
Laser-cut acrylic edges are naturally clean and polished, but the quality depends on material choice and cutting technique. Cast acrylic typically produces the cleanest edges. If you want polished edges, discuss that with your shop—some operations offer edge polishing as a finishing service.
Ready to start your acrylic project? Reach out to American Laser Cutter with details about your design and material needs. Visit americanlaserco.com for a quote.
How to Prepare Your Files for Laser Cutting
Getting your design file ready for laser cutting isn't complicated, but a few key steps can save you time, money, and frustration. Whether you're working with vector graphics or preparing your first project, understanding file requirements upfront means faster turnaround and better results.
Use Vector Formats, Not Raster Images
Laser cutting software reads vector files—think Adobe Illustrator, CorelDRAW, or Inkscape. These formats store shapes as mathematical paths, not pixels, so they scale perfectly to any size without loss of quality. Common vector formats include .ai, .pdf, .eps, .dxf, and .svg. If your design is in Photoshop or PNG format, you'll need to convert or redraw it as a vector first. Raster images can be used for engraving, but cutting always requires vectors.
Set Up Your Layers Correctly
Most laser software uses layers or color-coding to distinguish between cutting and engraving operations. Typically, red lines indicate cuts and other colors indicate engravings. Before you send your file, confirm with your laser shop which color scheme they use. Make sure your cut paths are on a separate layer or color from any engraved details. Clean, organized files speed up the process and reduce the chance of mistakes.
Account for Kerf (Material Loss)
The laser beam has a width—usually around 0.1mm to 0.15mm depending on your material. This width removes material as it cuts, an amount called "kerf." If you're designing precise parts that need to fit together, account for kerf in your measurements. For example, if you want a box with interlocking sides, slightly adjust your slot sizes. Your laser shop can advise on kerf amounts for your specific material and equipment.
Double-Check Your Dimensions
Verify that your file dimensions match your intended output size. If you designed a 12-inch sign but your artboard is set to 12 feet, you'll have a problem. Include dimensions in your file or in a note to your shop. Also confirm your material will fit in the cutting area—American Laser Cutter's largest machines handle pieces up to 4' × 5', but if you're cutting multiple items, the arrangement matters.
Simplify and Weld Where Needed
Remove any unnecessary points, overlapping lines, or hidden objects from your design. Duplicate paths or stray lines can confuse laser software and cause unexpected results. If you have shapes that should be one unified cut, weld or combine them into a single path. Simple, clean files process faster and cut cleaner.
Ready to send your design to a professional laser shop? Visit americanlaserco.com to discuss your project and get expert guidance on file setup.
LASER CUTTING RESOURCES
This website is fantastic to pick up parts for your laser cutter.
This is a fantastic replacement software for laser cutters
https://lightburnsoftware.com/
This is a link to RdWorks software
https://www.ruidacontroller.com/download/
rescue files for RDworks and lightburn (still adding files)