
Laser 101: FAQs & Tips for Laser Cutting
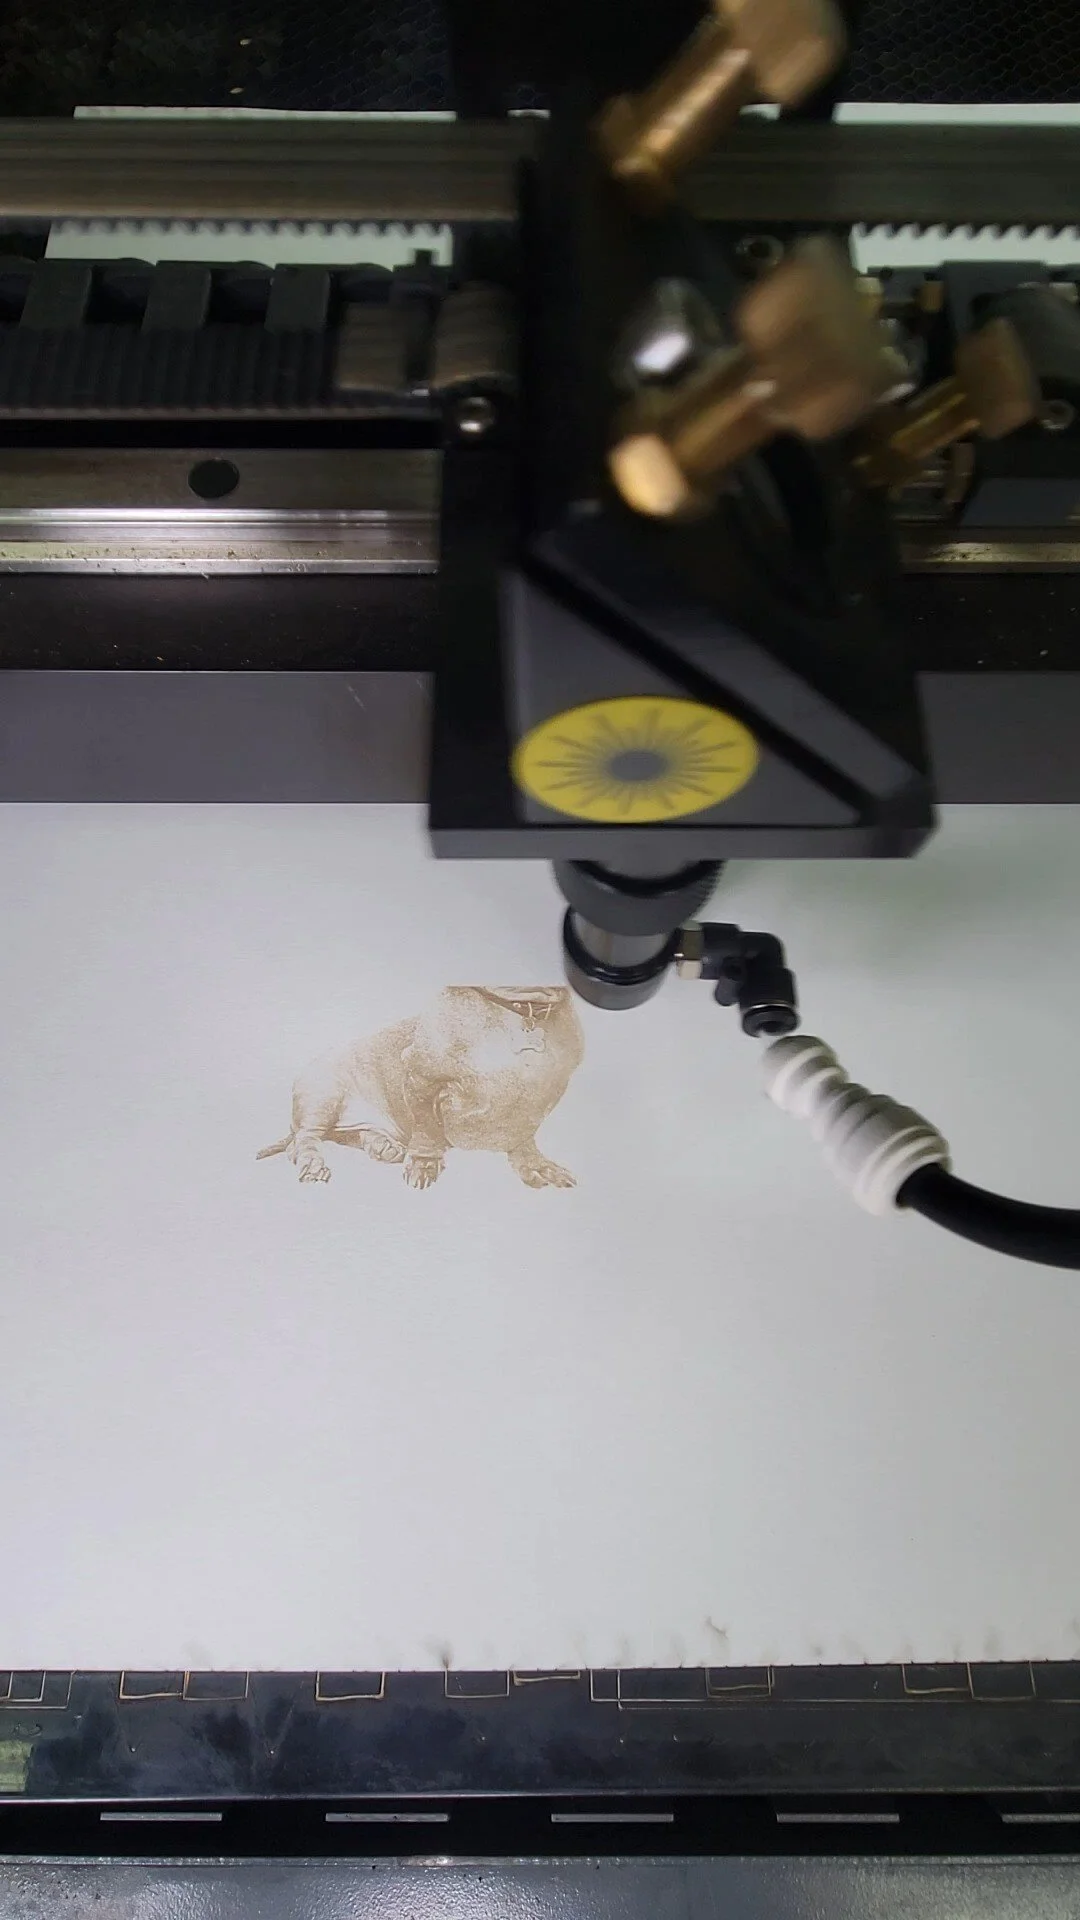
New to laser cutting? Start here. We explain the basics—how CO₂ lasers cut and engrave, which materials are safe, and how to set up your file. You’ll learn the difference between cutting and engraving, why vector files matter, and simple ways to avoid burn marks or rough edges. We also cover safety, ventilation, and tips for better results. Whether you plan to rent a laser or have us do the work, this quick guide will help you make confident choices and get cleaner parts.
FAQs
- Cutting vs. engraving—what’s the difference?
Cutting goes through the material; engraving marks the surface. - Which materials are safe to cut?
Common options include acrylic, wood, cardboard, some fabrics, and other laser-safe materials. Avoid PVC and unknown plastics. - Why won’t JPEG or PNG work for cutting?
They don’t contain paths. Laser cutters need vector files like AI, DXF, or PDF. - What software should I use?
Illustrator or LightBurn are common choices. Export clean vectors at the correct scale. - Any quick tips for cleaner results?
Use the right material, nest parts to save stock, keep optics clean, and choose sensible power/speed settings.
Setting Up Cut vs. Engrave Paths in Your Design File
The difference between a cutting path and an engraving path is crucial in laser file preparation. Getting this right upfront means your project will turn out exactly as intended, with clean cuts and detailed engravings in all the right places. Here's how to set it up correctly.
Understanding the Difference
A cut path is a line that the laser follows, completely removing material along that line. An engrave path (or raster engrave) is treated differently—the laser pulses or moves across a surface, removing just enough material to create texture, depth, or a visual pattern without cutting all the way through. Your design needs to clearly distinguish between these two operations.
Using Color-Based Coding
Most laser shops use a color-coding system: red lines cut, blue lines engrave, and so on. Before you design, ask your shop which colors they use. Once you know the standard, it's simple—put all your cut paths on a red layer and all your engravings on a blue layer. Make sure colors are pure (pure red is RGB 255, 0, 0) and that lines have no fill, only strokes.
Stroke vs. Fill Settings
For cutting, create a stroked path with no fill. Fills are for raster (pixel-based) engravings and use different laser settings. Make sure your vector software is set up correctly—strokes only for cuts and engravings from lines. If you're confused about your software's settings, ask your laser shop for guidance specific to the program you're using.
Layering for Organization
Use layers in your design software to keep cuts and engravings organized. Layer 1 could be all cut paths (red), Layer 2 all engrave paths (blue), etc. This keeps your file clean and makes it easy for your laser shop to review and process. It also makes it simple to disable a layer temporarily while you work on another part of the design.
Testing Before Final Production
If you're unsure about your setup, many laser shops will do a test run on scrap material first. The small cost is worth it to make sure everything processes exactly as you envision. Once you're confident in your file, you can move forward to full production.
Have questions about your file setup? American Laser Cutter offers file review and design consultation. Visit americanlaserco.com or send your file for feedback.
LASER CUTTING RESOURCES
This website is fantastic to pick up parts for your laser cutter.
This is a fantastic replacement software for laser cutters
https://lightburnsoftware.com/
This is a link to RdWorks software
https://www.ruidacontroller.com/download/
rescue files for RDworks and lightburn (still adding files)